

The clock says 6:15 AM, but my brain still feels like it’s stuck in the 3:00 AM nursing haze. Yesterday, I actually found my car keys in the refrigerator. That is the level of sleep deprivation we are dealing with here. When you’ve been up all night with a baby who thinks 2:00 AM is the perfect time to practice their dinosaur screeches, the last thing you can manage is a gourmet omelet or a complicated smoothie bowl. You need food, you need it two minutes ago, and it needs to be something you can eat with one hand while bouncing a fussy infant.
I’ve been there—standing in the kitchen, blinking at a carton of eggs like they’re a complex physics equation. That’s why I started hacking my mornings. These five breakfast ideas are my literal lifesavers. They take five minutes or less, use minimal dishes, and actually give you the protein and healthy fats you need to survive until nap time. No fluff, just fuel.
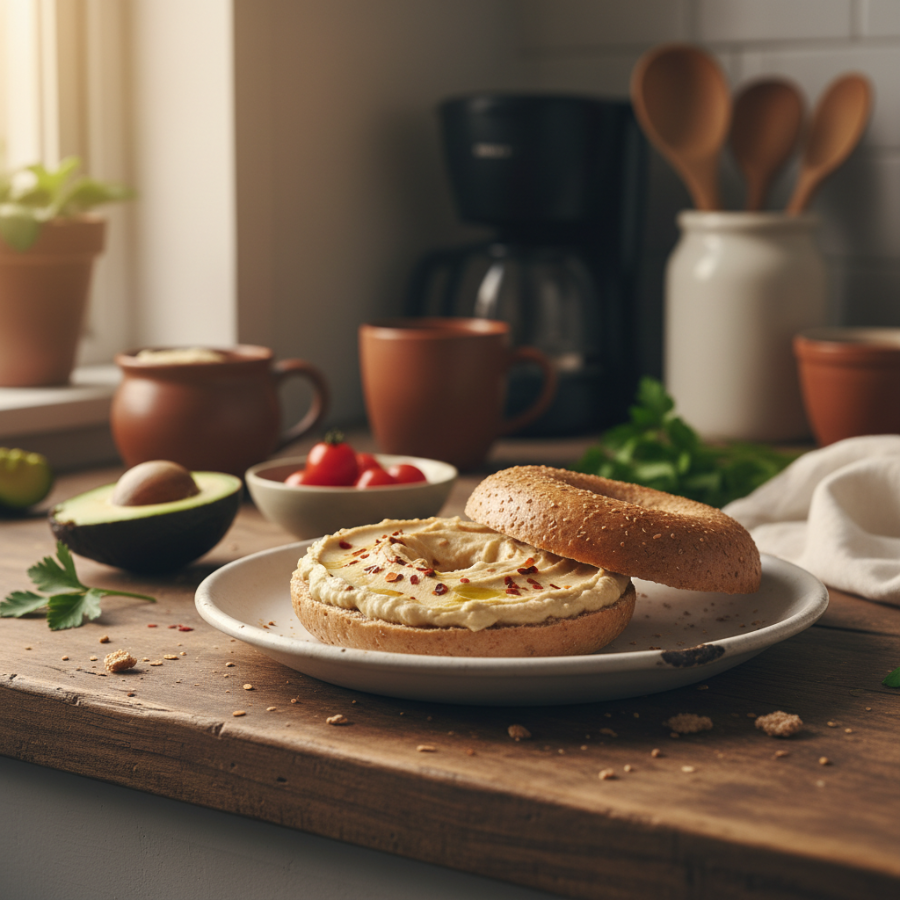
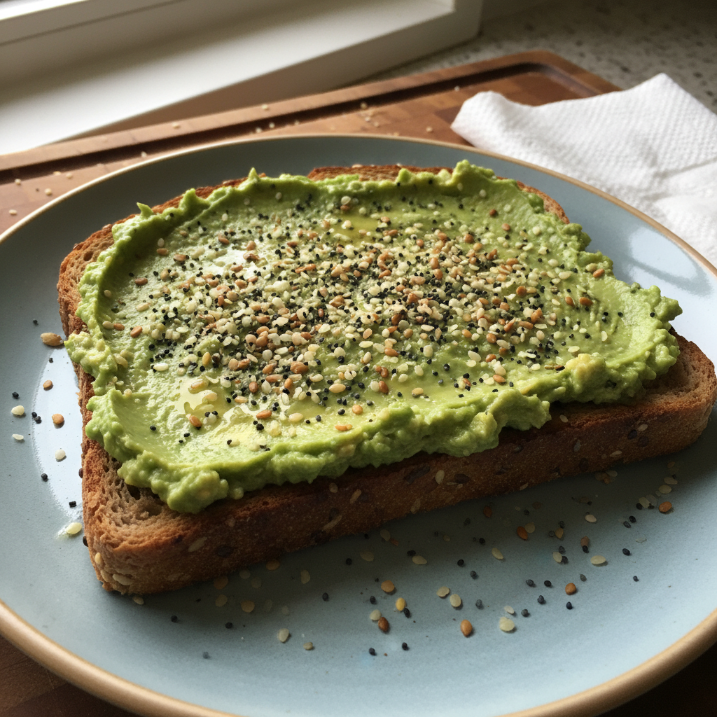
The “Everything” Avocado Toast
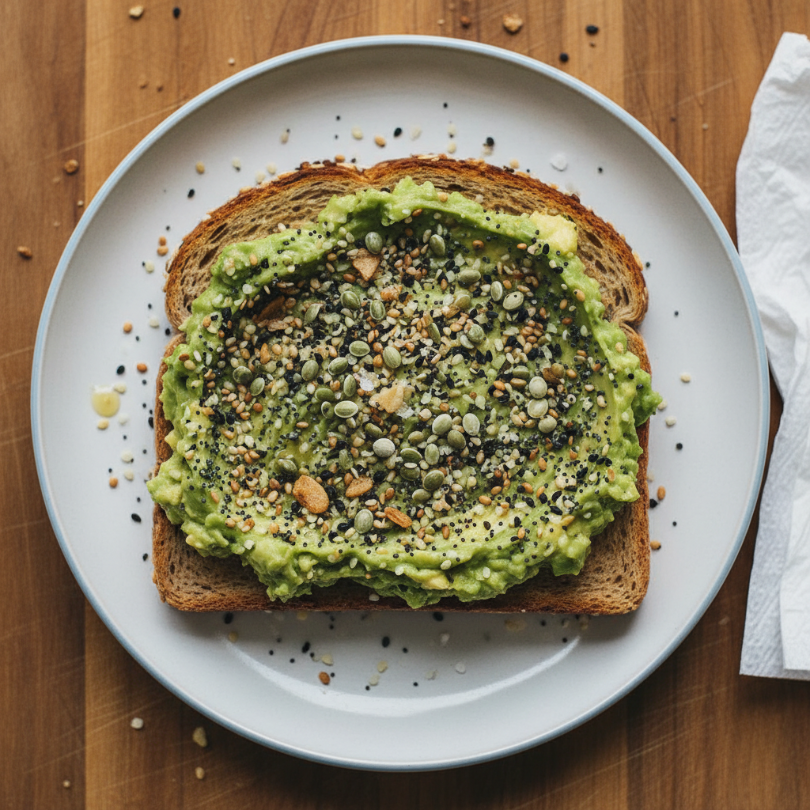
This isn’t your fancy $15 brunch toast. This is the power-packed version that takes two minutes to assemble. The secret is using hemp seeds and Everything Bagel Seasoning to add crunch and extra nutrients without any extra chopping. I love the contrast of the creamy avocado against a really seedy, sprouted grain bread—it feels like a real meal even if you’re eating it over a diaper bag.
Ingredients
* 1 slice sprouted grain bread (like Ezekiel)
* 1/2 small ripe avocado
* 1 tsp Everything Bagel Seasoning
* 1 tbsp hemp hearts (for extra protein/omega-3s)
* A squeeze of lemon juice (optional, but helps keep it bright)
Instructions
1. Pop your bread in the toaster on a medium setting.
2. While toast is browning, scoop the avocado into a small bowl and smash it roughly with a fork.
3. Spread the avocado onto the hot toast.
4. Generously sprinkle with the Everything Bagel Seasoning and hemp hearts.
5. Squeeze the lemon juice over the top if you have an extra hand.
Tips
* Pre-smash: If you’re really struggling, you can buy the individual pre-mashed avocado cups.
* Add an egg: If you happen to have a hard-boiled egg in the fridge, slice it and throw it on top for a massive protein boost.
One morning, I was so tired I tried to toast a coaster instead of bread. Once I figured out my mistake, this toast saved my sanity. It’s got that hit of healthy fat that stabilizes your mood when the “afternoon slump” hits at 9:00 AM.
I honestly make this at least four times a week. It’s the only thing that keeps me from reaching for the kids’ leftover goldfish crackers for breakfast.
📋 Recipe Card
The Everything Avocado Toast
🥗 Ingredients
- 1 slice sprouted grain bread
- 1/2 small ripe avocado
- 1 tsp Everything Bagel Seasoning
- 1 tbsp hemp hearts
- 1 tsp lemon juice
📋 Instructions
- 1Toast the bread to your desired level of crispness.
- 2Mash the avocado in a small bowl with a fork.
- 3Spread the avocado onto the toast.
- 4Sprinkle with Everything Bagel Seasoning and hemp hearts.
- 5Squeeze lemon juice over the top and serve immediately.
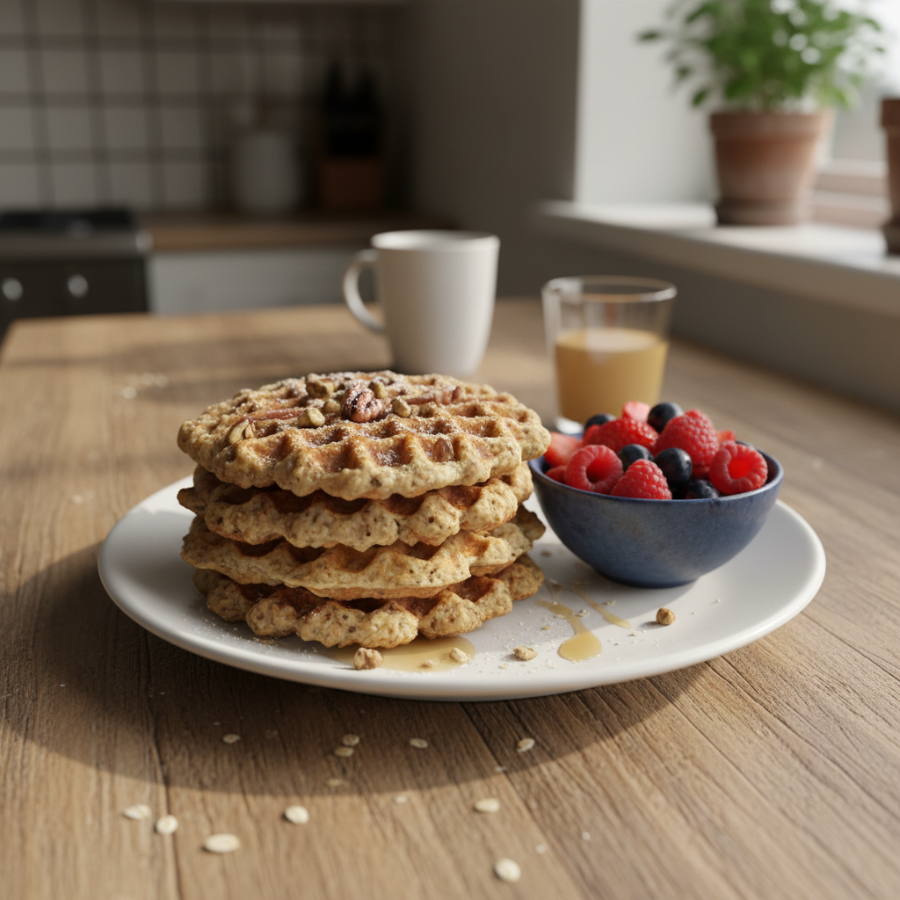
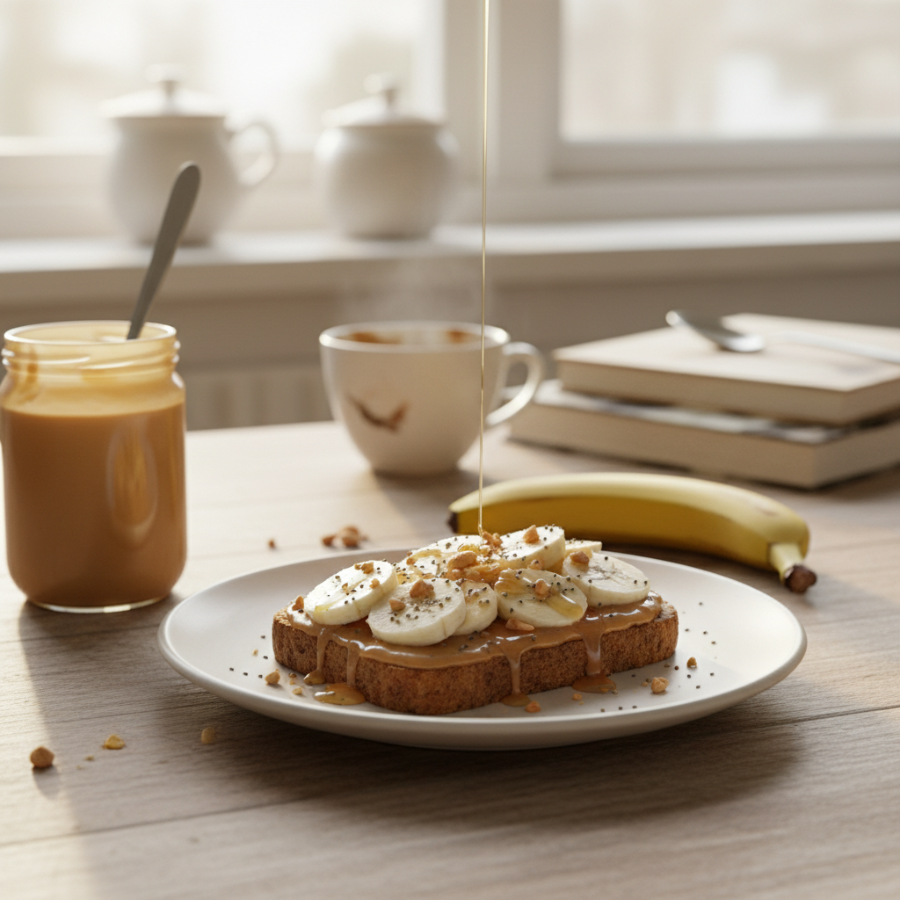
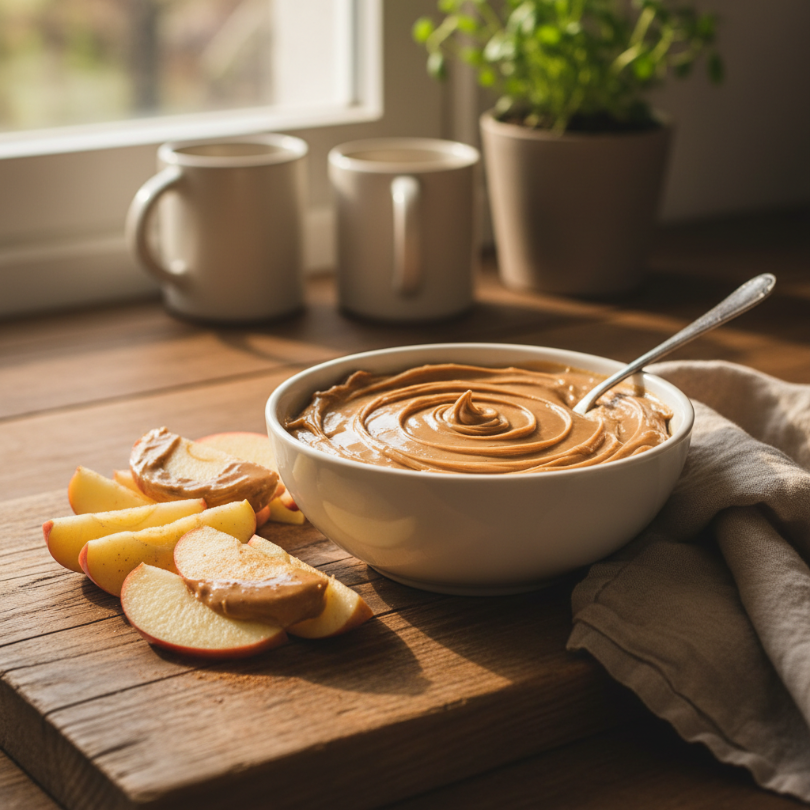
Peanut Butter & Chia “Instant” Oats
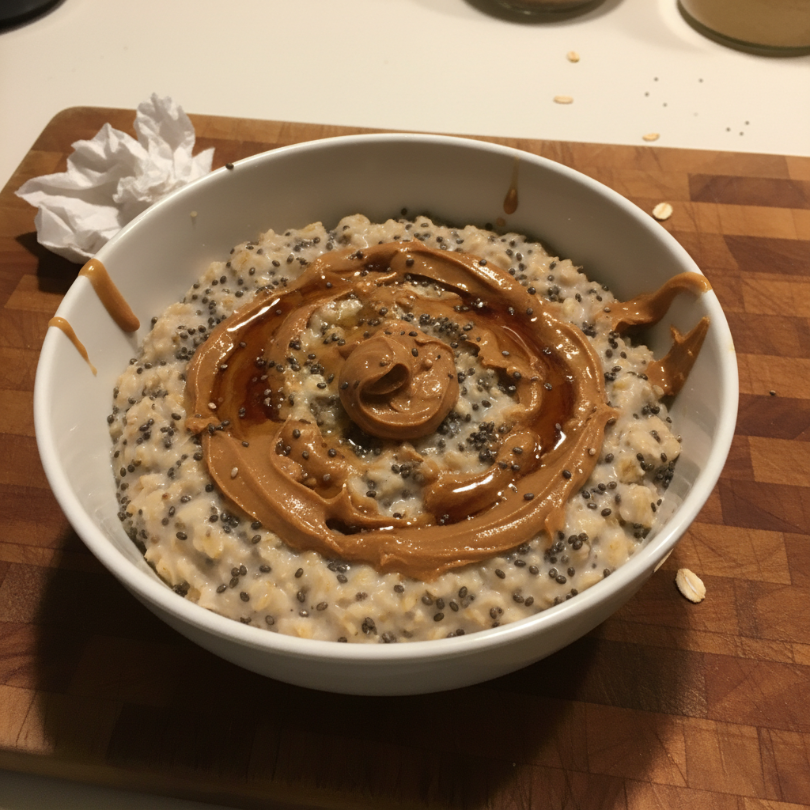
When you’re sleep-deprived, your body craves carbohydrates, but simple sugars will just make you crash. These stoveless oats use boiling water (or even hot water from your coffee maker) to “cook” in minutes. Adding chia seeds and peanut butter slows down digestion, so you aren’t starving again in twenty minutes. It’s warm, comforting, and tastes like a giant hug in a bowl.
Ingredients
* 1/2 cup quick-cooking oats (not steel cut)
* 1 tbsp chia seeds
* 1 scoop peanut butter
* 1 tsp maple syrup or honey
* 1/2 cup boiling water (or very hot milk)
* Pinch of cinnamon
Instructions
1. Place the oats, chia seeds, and cinnamon in a bowl.
2. Pour the boiling water over the mixture and stir quickly.
3. Cover the bowl with a plate and let it sit for 3 minutes.
4. Remove the plate and stir in the peanut butter and sweetener.
5. Add a splash of cold milk if it’s too thick.
Tips
* Coffee maker hack: You can use the “hot water” function on your Keurig or Nespresso to get the water ready instantly.
* Jar it up: Mix the dry ingredients in a mason jar the night before so you just have to add water in the morning.
I call this my “emergency oats.” There was a week when the baby was teething and I think I lived exclusively on this recipe.
It feels more like a treat than a health food, especially with that melty peanut butter swirl. If you’re breastfeeding, the oats and chia are great for supporting your milk supply too!
📋 Recipe Card
Peanut Butter & Chia Instant Oats
🥗 Ingredients
- 1/2 cup quick-cooking oats
- 1 tbsp chia seeds
- 1 tbsp peanut butter
- 1 tsp maple syrup
- 1/2 cup boiling water
- 1/4 tsp cinnamon
📋 Instructions
- 1Combine oats, chia seeds, and cinnamon in a bowl.
- 2Pour boiling water over the mixture and stir.
- 3Cover with a plate for 3 minutes to allow oats to absorb the water.
- 4Stir in peanut butter and maple syrup.
- 5Adjust consistency with a splash of milk if desired.
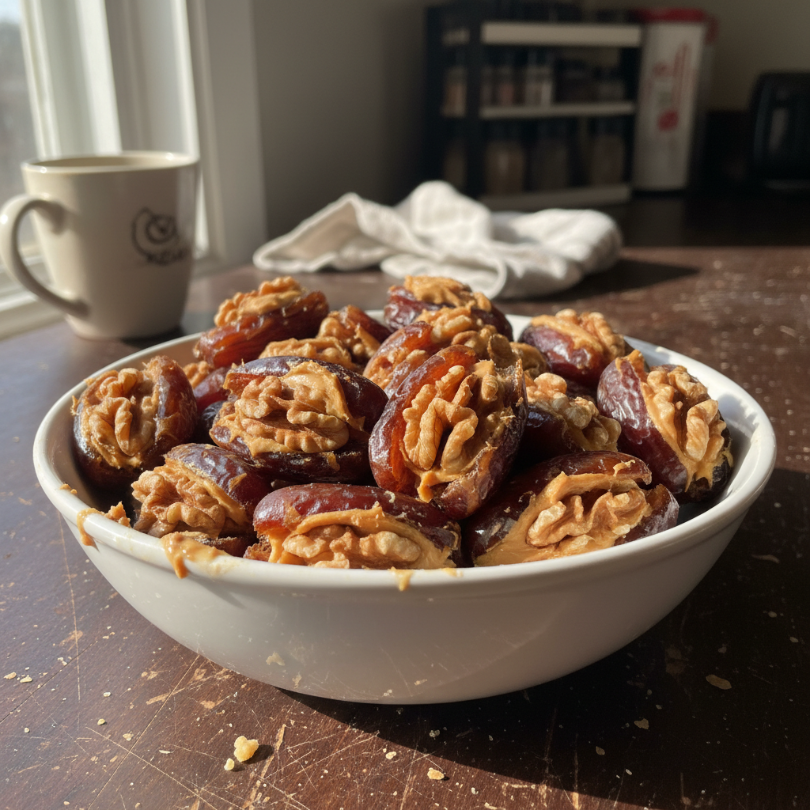
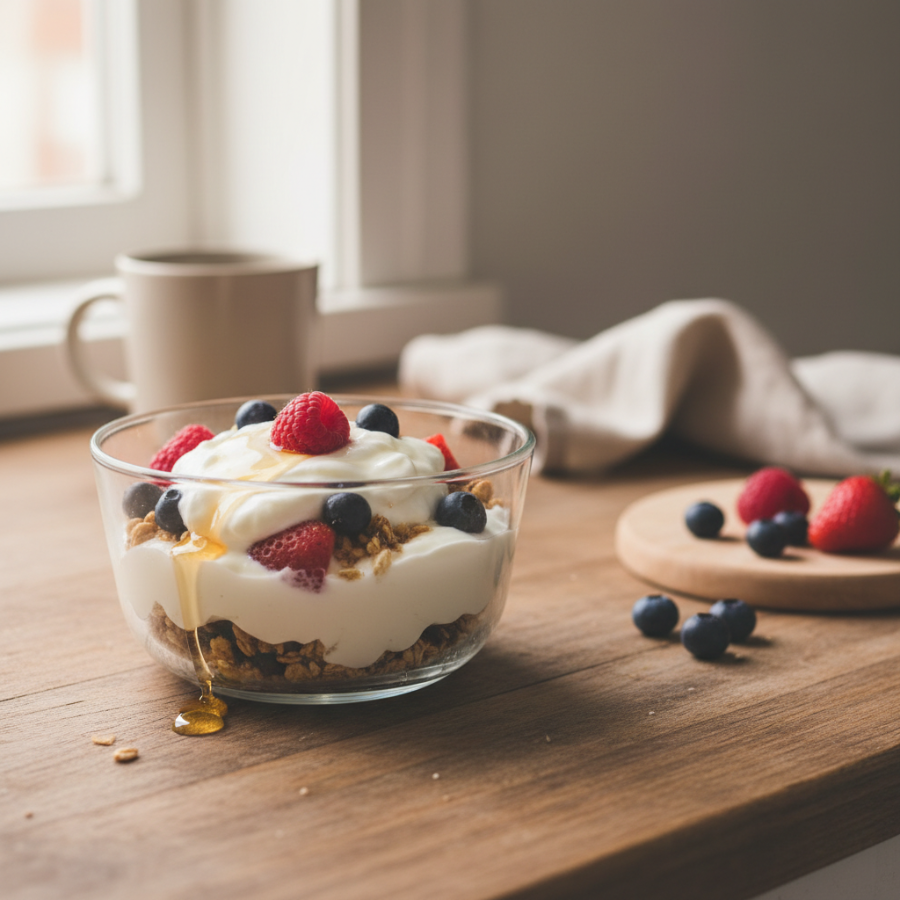
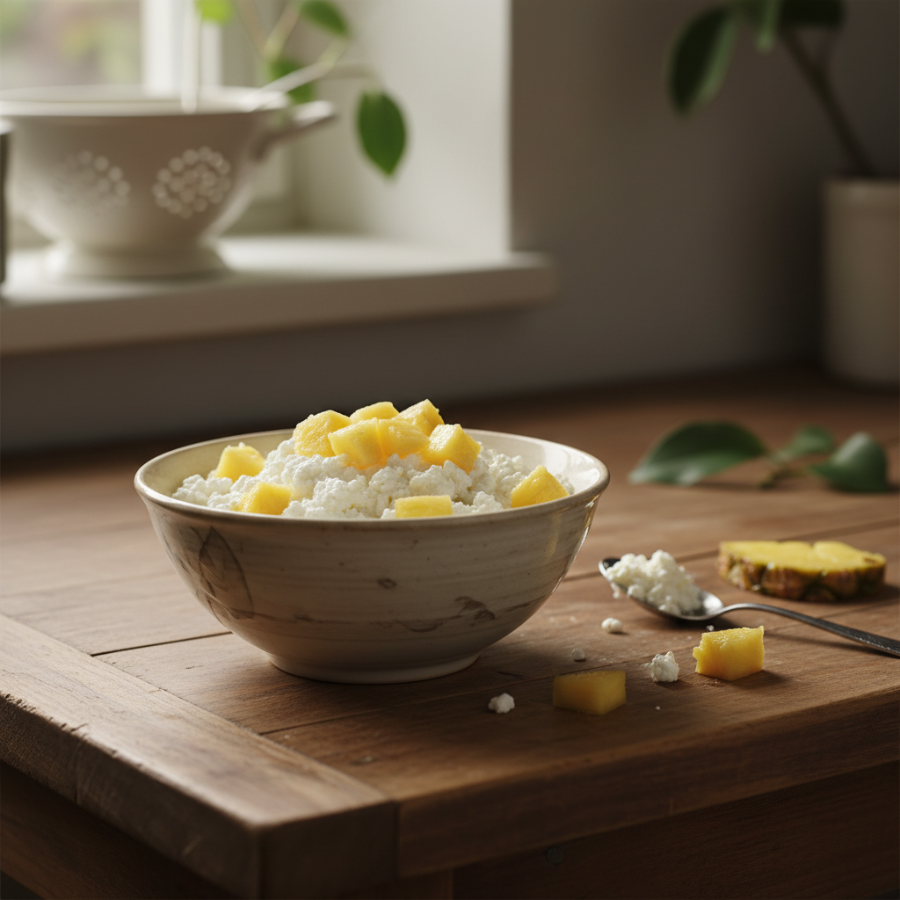
Greek Yogurt “Sundae” with Walnuts
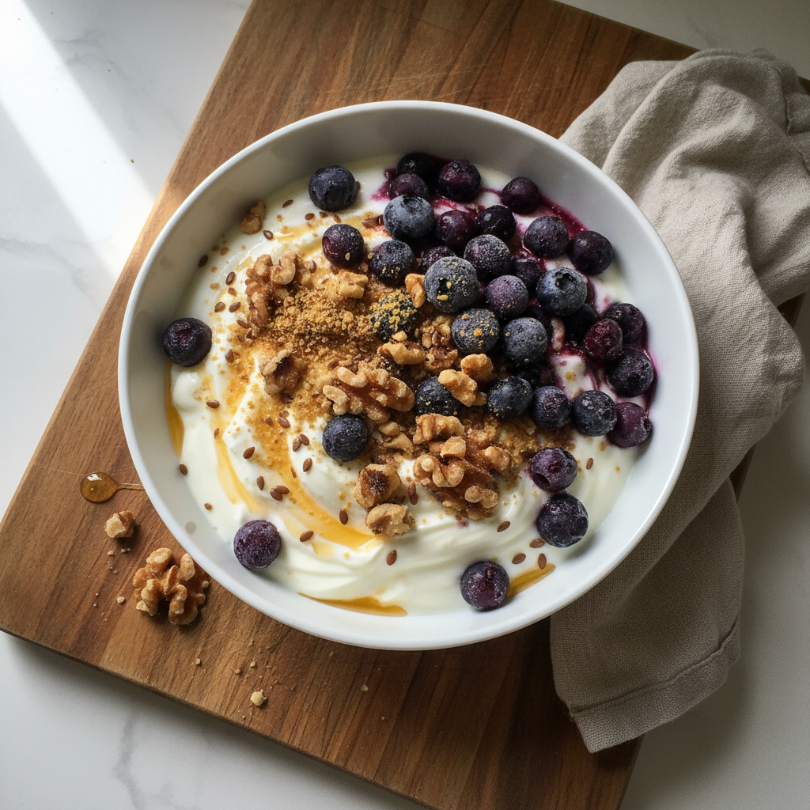
If you can’t even deal with the toaster, this is for you. Greek yogurt is the MVP of sleep-deprived mornings because it’s packed with protein. The trick to making it feel like a meal is the texture. I use walnuts for brain health (lord knows we need it) and a handful of frozen blueberries. The berries thaw slightly in the yogurt, creating a delicious little “sauce.”
Ingredients
* 1 cup Greek yogurt (full-fat is best for satiety)
* 1/4 cup walnuts, crushed by hand
* 1/2 cup frozen blueberries
* 1 tbsp flax meal
* A drizzle of honey
Instructions
1. Scoop the yogurt into a bowl or directly into the container if you’re low on dishes.
2. Top with the frozen blueberries (they will start to thaw immediately).
3. Sprinkle with walnuts and flax meal.
4. Finish with a quick honey drizzle.
Tips
* Go Dairy Free: This works perfectly with coconut or almond milk yogurt; just add a scoop of collagen or protein powder to keep the protein high.
* Frozen is better: I actually prefer frozen berries over fresh here because they release more juice.
There is zero cooking involved here. None. You can literally assemble this while holding a baby on your hip.
It’s cold, refreshing, and surprisingly filling. I’ve found that the crunch of the walnuts helps wake my brain up a little bit more than a soft smoothie does.
📋 Recipe Card
Greek Yogurt Sundae with Walnuts
🥗 Ingredients
- 1 cup plain Greek yogurt
- 1/4 cup walnuts, crushed
- 1/2 cup frozen blueberries
- 1 tbsp flax meal
- 1 tsp honey
📋 Instructions
- 1Place yogurt in a serving bowl.
- 2Top with frozen blueberries and crushed walnuts.
- 3Sprinkle flax meal over the top.
- 4Drizzle with honey and enjoy.
5-Minute Microwave Egg Scramble
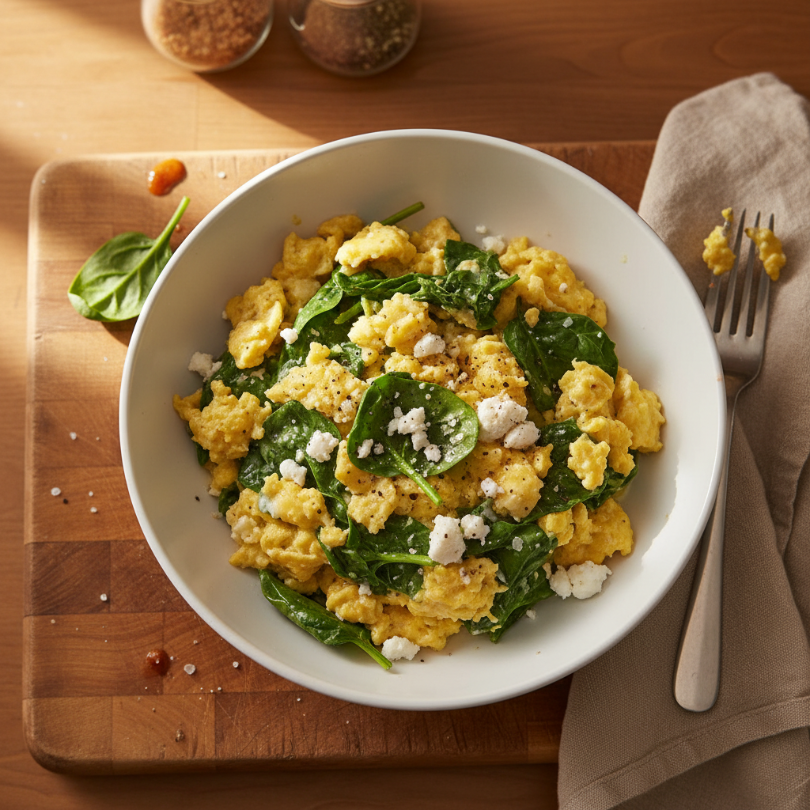
Yes, you can cook eggs in the microwave, and no, they don’t have to be rubbery. The secret is cooking in short bursts and adding a little feta cheese for moisture. This is for the mornings when you are craving something savory and hot but the stove feels like a bridge too far. It’s a 5-minute breakfast that feels like a real “sit-down” meal.
Ingredients
* 2 large eggs
* 2 tbsp milk or water
* 1/4 cup baby spinach, torn
* 1 tbsp feta cheese crumbs
* Salt and pepper to taste
Instructions
1. Crack the eggs into a microwave-safe mug or small bowl.
2. Add milk, salt, and pepper, and whisk with a fork until combined.
3. Toss in the torn spinach.
4. Microwave on high for 45 seconds.
5. Take it out, stir, and add the feta cheese.
6. Microwave for another 30-45 seconds until the eggs are set but still look moist.
Tips
* Mug choice: Use a wider mug to ensure the eggs cook evenly.
* Don’t overcook: The eggs will continue to cook for a minute after you take them out, so pull them just before they look “dry.”
I was skeptical of microwave eggs until I had a newborn and realized I couldn’t stand at the stove for five minutes without a cry starting up.
In a mug, you can eat this with one hand while walking around the house. It’s actually quite fluffy if you don’t nuke it for too long!
📋 Recipe Card
5-Minute Microwave Egg Scramble
🥗 Ingredients
- 2 large eggs
- 2 tbsp milk
- 1/4 cup fresh spinach, torn
- 1 tbsp feta cheese
- Salt and pepper to taste
📋 Instructions
- 1Whisk eggs, milk, salt, and pepper in a microwave-safe mug.
- 2Stir in the torn spinach.
- 3Microwave on high for 45 seconds.
- 4Remove, stir in the feta, and microwave for another 30-45 seconds until set.
- 5Let sit for 1 minute before eating.
The “Green” Protein Power Shake
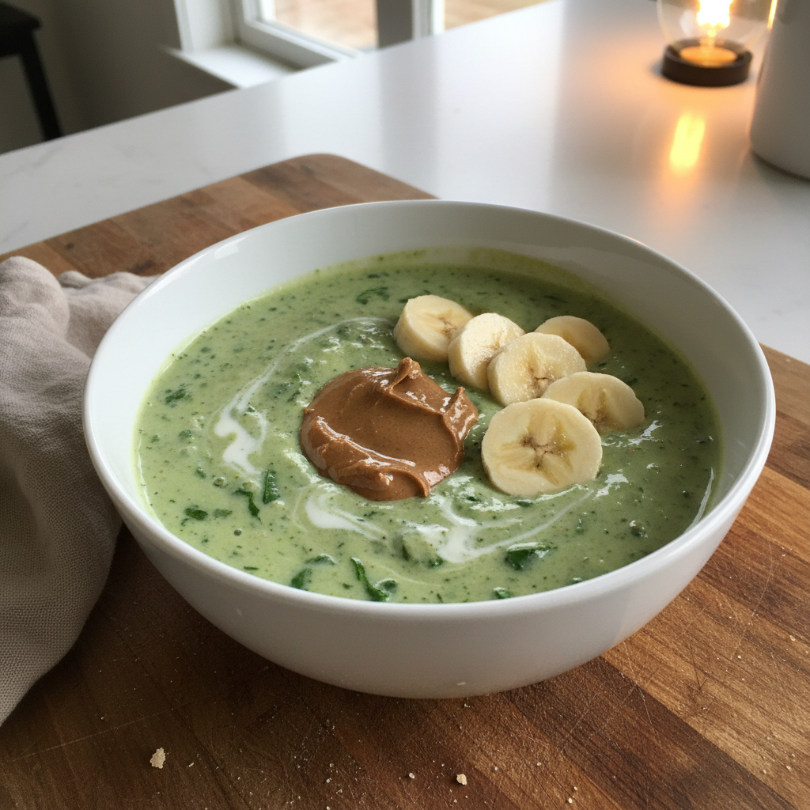
When you have zero time to chew—literally—this shake is the answer. It’s not a “detox” juice; it’s a balanced meal with protein, fiber, and greens. I use almond butter for vitamin E and a banana to mask the taste of the spinach. It’s fast, portable, and you can sip it through a straw while you’re nursing or driving to an appointment.
Ingredients
* 1 cup unsweetened almond milk
* 1 scoop vanilla protein powder
* 1 handful fresh baby spinach
* 1 tbsp almond butter
* 1/2 frozen banana
* 1 tsp cinnamon
Instructions
1. Throw everything into the blender in the order listed (liquid first).
2. Blend on high for 45-60 seconds until completely smooth.
3. Pour into a travel cup and go.
Tips
* Prep bags: You can put the banana, spinach, and cinnamon in a baggie in the freezer ahead of time.
* Liquid first: Always put your milk in first so the protein powder doesn’t get stuck to the bottom of the blender.
This is my go-to when I’m running late for a pediatrician appointment. It tastes like a vanilla milkshake but gives me enough energy to handle the inevitable “code brown” in the waiting room.
I love that I can get a full serving of greens before 8:00 AM. It makes me feel like I’ve got my life together, even when I’m wearing mismatched socks.
📋 Recipe Card
The Green Protein Power Shake
🥗 Ingredients
- 1 cup almond milk
- 1 scoop vanilla protein powder
- 1 handful fresh spinach
- 1 tbsp almond butter
- 1/2 frozen banana
- 1 tsp cinnamon
📋 Instructions
- 1Add almond milk to the blender first.
- 2Add protein powder, spinach, almond butter, banana, and cinnamon.
- 3Blend on high until completely smooth.
- 4Pour into a glass and serve.
General Tips & Tricks
For all these recipes, the goal is minimal friction. Keep your pantry stocked with staples like oats, nuts, and protein powder. If you have a partner, ask them to handle the “prep” (like slicing the avocado or washing the berries) the night before. And remember, perfection isn’t the goal—survival and nourishment are.
Conclusion
Being a mom is hard enough without the added stress of a complicated breakfast. These 5-minute ideas are designed to get you fed and energized with zero fuss. Pick one, try it tomorrow, and give yourself some grace. You’re doing a great job, Mama. Now go eat!