I made a guide for weeknight dinners. It focuses on keeping the calories low and the protein high. Each meal has at least 15 grams of protein and is packed with veggies for fullness. Think about quick, tasty meals that are ready in 20–30 minutes.
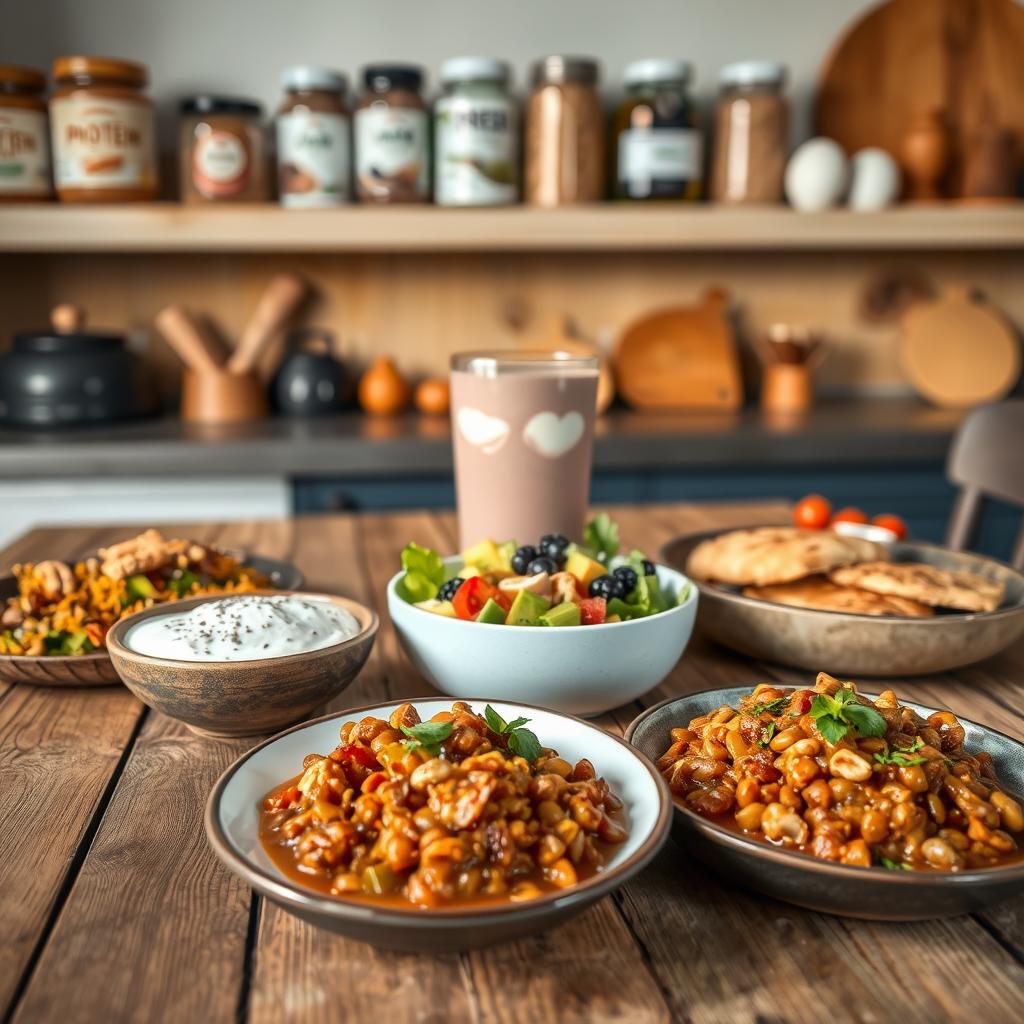
I often cook these meals: Salmon Caesar Salad with Greek yogurt dressing, Caprese Turkey Burgers with basil, Shrimp Cauliflower Fried Rice, White Turkey Chili with bulgur, and Crispy Buttermilk Tofu with greens. These dishes are inspired by the healthy, easy recipes from EatingWell and Taste of Home. They feature lean meats and veggies.
Looking for low-calorie meals that are still delicious? This list has what you need. It’s filled with protein-packed dinners that are easy to make. I’ll explain how I make each dish and why they’re my go-to for healthy, low-calorie meals.
These meals include everything from seared salmon to tender halibut and hearty lentils. They show that you can cook simple, yet flavorful dinners. Ready to try quick 20–30 minute meals that are both filling and nutritious?
Why I’m Obsessed with Low-Calorie, High-Protein Dinners for Weeknights
I cook this way to stay on track during busy nights. High-protein, low-cal meals keep me feeling full and avoid mid-evening crashes. My meals focus on lean proteins, fiber-filled veggies, and quick 30-minute recipes that suit a hectic weeknight schedule.
Balanced plates: pairing lean protein with fiber-rich veggies
I make sure my dishes have at least 15 grams of protein and lots of fiber-rich veggies. Adding romaine and radicchio offers crunch and flavor. A little Parmigiano-Reggiano cheese boosts taste without adding too many calories or sodium.
These meals make me feel like I’m eating more than I actually am. To keep it interesting, I switch between salmon, chicken breast, turkey, tofu, and shrimp. This keeps meals light and tasty.
Time-saving strategies: 20–30 minute meals from trusted sources
Quick and reliable recipes are my go-to. Shrimp cauliflower fried rice is ready in about 25 minutes. So are crispy tofu cutlets with paprika collards. Simple fish meals also only take 30 minutes to prepare.
I stick to a list of quick, under-30-minute recipes to keep things easy. This includes dishes under 350 calories, and also quick Mexican, low-carb, vegetarian, and one-pan meals. They help me maintain a steady meal prep routine on weeknights.
Pantry and freezer staples I keep on hand
Riced cauliflower and whole-grain bulgur help me cook faster. My pantry is full of canned green chiles, tomatoes, oregano, and spices like paprika and ginger. Greek yogurt and buttermilk are great for making lighter dressings and coatings.
I always have frozen shrimp, baby spinach, and collards for protein-rich meals. Tortillas or lettuce leaves easily transform grilled fish into quick tacos. Keeping these items ready means I can whip up balanced, high-protein, low-cal meals quickly. They keep my collection of 30-minute healthy recipes diverse for weeknight dinners.
Salmon Caesar Salad and Mediterranean-Flavored Chicken: Big Flavor, Lean Macros
I love bright flavors for weeknights. They’re light and satisfying. A low-cal Caesar salad and protein-packed chicken dinner are perfect. Plus, they’re quick to make and taste amazing.
Salmon Caesar Salad with Greek yogurt dressing and radicchio
I use EatingWell’s creamy base for a salmon Caesar salad. It feels rich but not heavy. I mix romaine and radicchio for a bit of sharpness and top it with broiled salmon for protein.
A little Parmigiano-Reggiano adds so much flavor to this low-cal salad. The yogurt dressing is tangy and light. The salmon makes it all the more satisfying.
Mediterranean stuffed chicken breast with spinach, feta, and roasted peppers
I start the chicken in a skillet and finish it in the oven. It keeps it juicy. The stuffing is feta, spinach, roasted peppers, and a touch of garlic.
This method adds color but not too much oil. The cheese blends into the greens perfectly. It’s a protein-rich meal that’s easy for any night.
Portion tips and simple sides to stay under calorie goals
I aim for 15 grams of protein per serving and choose simple sides. A small salad, roasted broccoli, or green beans work great for fiber.
Using yogurt-based dressings and a bit of cheese helps with portion control. Lean proteins are my goal. This way, I focus on flavor while watching the numbers.
Caprese Turkey Burgers and White Turkey Chili: High Protein Comforts
I love two cozy dishes when I crave tasty, quick, and balanced meals. They’re perfect for low-calorie turkey dinners that are still filling. Plus, they’re great for meal prep on busy evenings.

Caprese turkey burgers with basil, balsamic tomatoes, and fresh mozzarella
To make caprese turkey burgers, I blend lean ground turkey with Italian seasoning, garlic, and salt. I cook the patties in a hot pan until they’re juicy. Then, I add fresh mozzarella, balsamic-touched tomato slices, and basil.
I also mix basil into a light mayo. This goes on the burgers with whole basil leaves for extra flavor. If there’s no basil, I use arugula or baby spinach. A side salad keeps it fresh.
These burgers are low-calorie but still feel like summer. I serve them on whole-grain buns or lettuce. A bit of lemon juice makes them even better.
White turkey chili with zucchini, green chiles, and bulgur for fiber
I start my white turkey chili with ground turkey, onions, and oregano. Next, I add zucchini, green chiles, and broth. Then, I mix in bulgur for more fiber. It cooks until the grains are soft.
If I have time, I let the chili cook for almost an hour for richer taste. On busy nights, I cook it for 20 to 25 minutes. Greek yogurt and cilantro added at the end make it perfect.
This chili is both light and satisfying. Adding crisp radishes or lime on the side gives it a nice crunch.
Make-ahead and meal-prep notes for busy weeks
These two recipes are great for meal prep. I prepare the burger patties ahead and cook them when needed. Tomatoes and balsamic taste best when fresh.
The chili tastes even better the next day. I keep it in containers with some bulgur or steamed zucchini. It’s great for a quick lunch or dinner.
Having these dishes ready means I always have tasty protein options. They make my meal plan flexible and keep flavors exciting.
Seafood Wins: Shrimp Cauliflower Fried Rice and Grilled Halibut Tacos
I love seafood for low-calorie dinners that are bold and fresh. Cooking quickly keeps everything crisp and the tastes vibrant. These recipes are full of protein and omega-3s, perfect for any night.

Cauliflower fried rice with shrimp, broccoli, bell peppers, and garlic
I follow the one-pan EatingWell method for my shrimp cauliflower fried rice. First, I cook shrimp, broccoli, bell peppers, then add garlic and cauliflower rice. I let it sit to brown and develop a sweet, nutty flavor.
This dish takes about 25 minutes to make. It’s quick, light, and fits into my low-calorie dinner plan. A bit of soy sauce and lime juice makes it perfectly zesty.
Grilled halibut tacos with bright mango salsa
For the halibut tacos, I season the fish and grill it until it’s flaky. I add a mango salsa to the tortillas for a juicy crunch. Think delicious fish tacos with cilantro and lime. Taste of Home says it’s only about 330 calories per taco, with 28 grams of protein. I use lettuce wraps instead of tortillas to cut calories.
These tacos are a hit for anyone looking for high-protein seafood. They’re fresh, colorful, and pack a lot of omega-3s.
How to keep calories low while maximizing protein and omega-3s
To keep meals healthy, I grill or broil fish instead of frying. I use yogurt or salsa rather than cream sauces. Filling the plate with veggies helps me eat the right amount. On busy nights, I choose salmon or trout for a quick dose of omega-3s, served with greens or beans.
Seafood meals that cook in 30 minutes are a staple for me. They help me put together balanced meals quickly. With dishes like shrimp cauliflower fried rice and grilled halibut tacos, eating well stays simple and enjoyable.
Vegetarian Power: Crispy Buttermilk Tofu and Lentil Stew with Salsa Verde
I love vegetarian high-protein dinners for their big flavor with light ingredients. By swapping in plant-based proteins, cooking becomes quick and easy. This keeps the calories low but satisfaction high. These meals rely on pantry essentials and a mix of bold spices.
Crispy pan-fried tofu “cutlets” with smoky paprika collards
To make the tofu crispy, I dip it in buttermilk and then fry it until it’s golden. It turns into a crispy treat in about 25 minutes. Alongside, the collard greens mixed with garlic and paprika are a savory addition.
Hearty lentil stew finished with tangy parsley relish
I blend French green lentils with veggies and tomato sauce until they’re just right. Then I add a bright parsley salsa on top. This lentil stew with salsa verde brings a fresh twist to every spoonful. Plus, it’s filling without being fatty.
Plant-based protein swaps that still feel hearty
Planning these dinners means choosing between tofu, lentils, or quick veggie mince. I use less oil and more spices and herbs for flavor. These tricks help make meals that are low in calories but still feel like comfort food.
My 5 high protein low calory dinners short list
I have a list of weeknight healthy dinners for when I’m short on time but want something tasty. Each meal is high in protein, low in calories, and can be made in about 25 minutes. They also go great with sides high in fiber. I found these meals in cookbooks and online, focusing on quick cooking and healthy ingredients.
Salmon Caesar Salad (lean protein + yogurt-based dressing)
To make the dressing lighter, I use Greek yogurt and buttermilk. Crisp romaine and radicchio add a nice crunch. A bit of Parmigiano-Reggiano keeps it low-cal. This salad is one of my top high-protein, low-calorie meals. It’s ready in about 25 minutes.
Caprese Turkey Burgers (Italian spices, fresh basil, lighter cheese)
The turkey patties are flavored with basil, garlic, and oregano. Balsamic tomatoes and fresh mozzarella top them off. You can serve them in a lettuce wrap or a whole-wheat bun. This meal, with a side of arugula salad, is a great weeknight option.
Shrimp Cauliflower Fried Rice (one-pan, veggie-forward)
I cook the cauliflower rice in steps to keep it crispy. Add shrimp, broccoli, bell peppers, and garlic for color and protein. This dish is a quick, one-pan wonder that is both satisfying and healthy.
White Turkey Chili with Bulgur (fiber boost, slow-simmered flavor)
The ground turkey makes it lean, and bulgur adds texture and fiber. Zucchini, green chiles, and oregano go in next. You can simmer it for a while or make it faster by using less liquid. Serve it with a side of chopped cabbage slaw for extra fiber.
Crispy Buttermilk Tofu with Paprika Collards (vegetarian, weeknight-fast)
Buttermilk and smoked paprika make the tofu delicious and crispy. I cook the tofu and then add collards with garlic and lemon. This vegetarian dish is high in protein and low in calories. It’s also quick to make on a busy night.
Conclusion
I like to keep weeknight dinners simple yet tasty. I choose lean meats, lots of veggies, light sauces, and can finish cooking in 20–30 minutes. This method helps me eat healthy during the week but still enjoy what I’m eating. It’s the key to making high protein, low calorie dinners work.
Where do I find inspiration? I turn to trusted sites. EatingWell suggests using Greek yogurt in dressings and making veggie-packed stir-fries. They also recommend using grains like bulgur to feel fuller without too many calories. Taste of Home provides ideas such as halibut tacos that are both low in calories and high in protein. They show how to use citrus, salsa, and fresh veggies to enhance flavor without adding fat.
I explore different types of 30-minute meal ideas too, like low-carb, Mediterranean, and vegetarian options. Mixing up recipes keeps meals under 350 calories and ensures they’re rich in protein and fiber. This variety makes my diet balanced and keeps my eating goals on track.
Some of my favorite dishes are Salmon Caesar Salad, Caprese Turkey Burgers, and Shrimp Cauliflower Fried Rice. Others include White Turkey Chili with Bulgur and Crispy Buttermilk Tofu with Paprika Collards. They’re all packed with protein, easy to make, and full of flavor. These recipes prove that with a little planning, you can eat delicious, low-calorie meals that nourish your body and delight your taste buds.