Golden, bubbling lasagna. The smell of slow-cooked beef. These meals are a hug in a bowl.
Life gets blurry when you bring a new baby home. I remember standing in my kitchen at 3 AM three years ago, holding a crying newborn, and realizing I hadn’t eaten anything but a granola bar since sunrise. My brain was mush. My body felt like it had been through a marathon. Thank goodness for my past self—the one who spent a Sunday afternoon stocking the freezer with these exact recipes. Having a real, hot meal that only requires a microwave or an oven makes you feel human again. It’s the ultimate gift to yourself.
- Nutrient-dense ingredients — We’re focusing on iron, healthy fats, and protein to help your body heal and keep your energy up.
- One-handed eating — Many of these are bowl-style meals because, let’s be honest, you’ll probably be holding a baby while you eat.
- Zero prep on the day — No chopping or sautéing required once the “fourth trimester” hits; just heat and serve.
- Big batches — These recipes make enough for leftovers, so you aren’t cooking every single night.
- Budget-friendly — Diapers are expensive, so these meals use pantry staples and affordable cuts of meat.
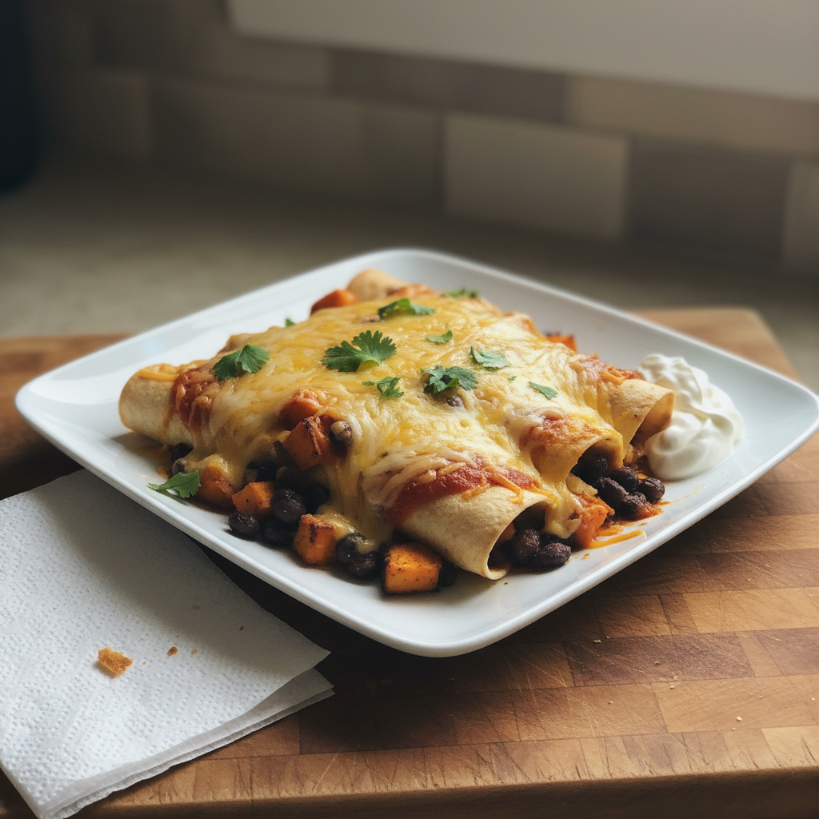
Sweet Potato and Black Bean Freezer Enchiladas

These are my absolute favorite because they’re surprisingly filling without being heavy. The sweet potato provides that much-needed Vitamin A for tissue repair, while the black beans offer fiber to keep things moving (if you know, you know). I love how the edges of the tortillas get slightly crispy in the oven while the middle stays soft and cheesy. It’s pure comfort.
Ingredients
* 12 corn or flour tortillas – flour holds up better in the freezer.
* 2 large sweet potatoes – peeled, cubed, and roasted.
* 2 cans black beans – rinsed and drained.
* 2 cups shredded Monterey Jack cheese – or a dairy-free swap.
* 28 oz red enchilada sauce – store-bought is totally fine here.
* 1 tsp cumin – for that smoky warmth.
* 1 tsp garlic powder – because we need flavor fast.
Instructions
1. Roast your sweet potato cubes at 400°F until tender, usually about 25 minutes.
2. Mash the potatoes slightly in a bowl and mix with the beans and a splash of enchilada sauce.
3. Fill each tortilla with the potato mixture and a sprinkle of cheese.
4. Roll them tightly and place them seam-side down in a disposable aluminum foil pan.
5. Pour the remaining sauce over the top and add the rest of the cheese.
6. Cover tightly with plastic wrap, then foil, and freeze for up to 3 months.
7. Bake at 375°F for 45 minutes from frozen, or 25 minutes if thawed.
Tips
* Use foil pans — Don’t tie up your good glassware in the freezer for months.
* Label everything — Use a Sharpie to write the bake time and date directly on the foil.
I made these for a friend who just had twins, and she told me they were the first “real” food she ate that didn’t come from a drive-thru. They’re just so satisfying. Personally, I like to top mine with a massive scoop of Greek yogurt instead of sour cream for that extra hit of protein.
📋 Recipe Card
Sweet Potato and Black Bean Freezer Enchiladas
🥗 Ingredients
- 12 corn or flour tortillas
- 2 large sweet potatoes, peeled and cubed
- 2 cans (15 oz each) black beans, rinsed
- 2 cups shredded Monterey Jack cheese
- 28 oz red enchilada sauce
- 1 tsp cumin
- 1 tsp garlic powder
📋 Instructions
- 1Preheat oven to 400°F and roast sweet potato cubes for 25 minutes until soft.
- 2In a large bowl, lightly mash the potatoes and mix with black beans and 1/2 cup of enchilada sauce.
- 3Spread a thin layer of sauce in a 9×13 inch foil baking pan.
- 4Fill each tortilla with the potato mixture and a sprinkle of cheese, then roll tightly.
- 5Place enchiladas seam-side down in the pan, cover with remaining sauce and cheese.
- 6Cover with plastic wrap then aluminum foil and freeze.
- 7To bake from frozen: Remove plastic wrap, replace foil, and bake at 375°F for 45-50 minutes.
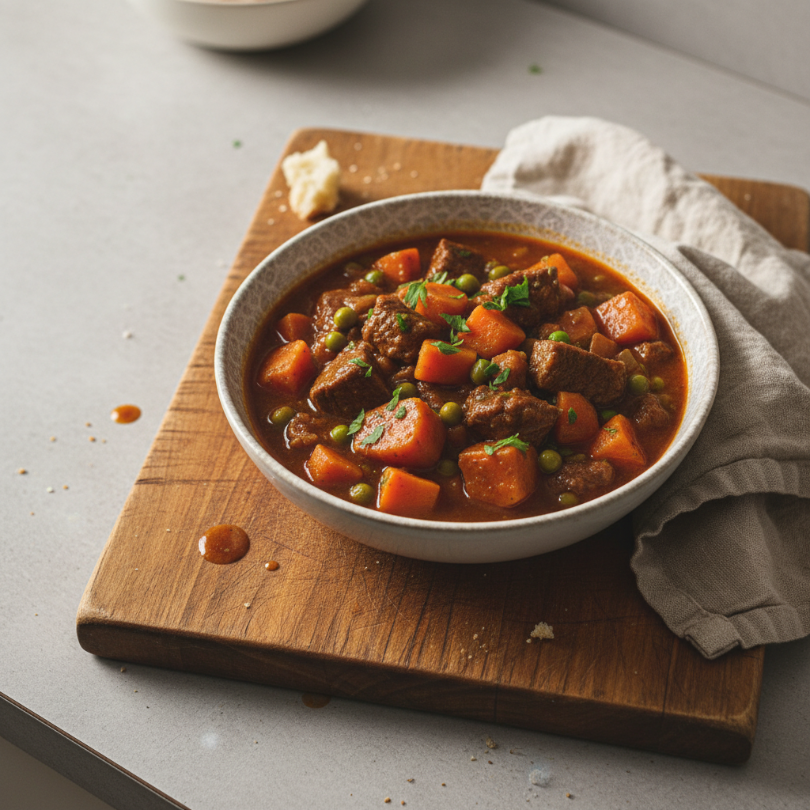
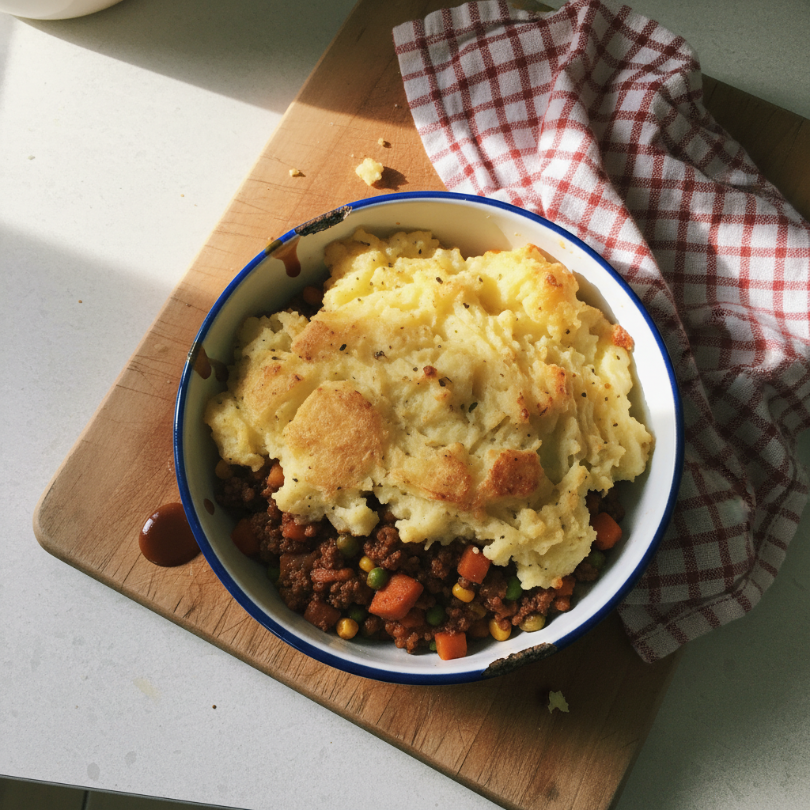
Slow Cooker Beef and Veggie Stew
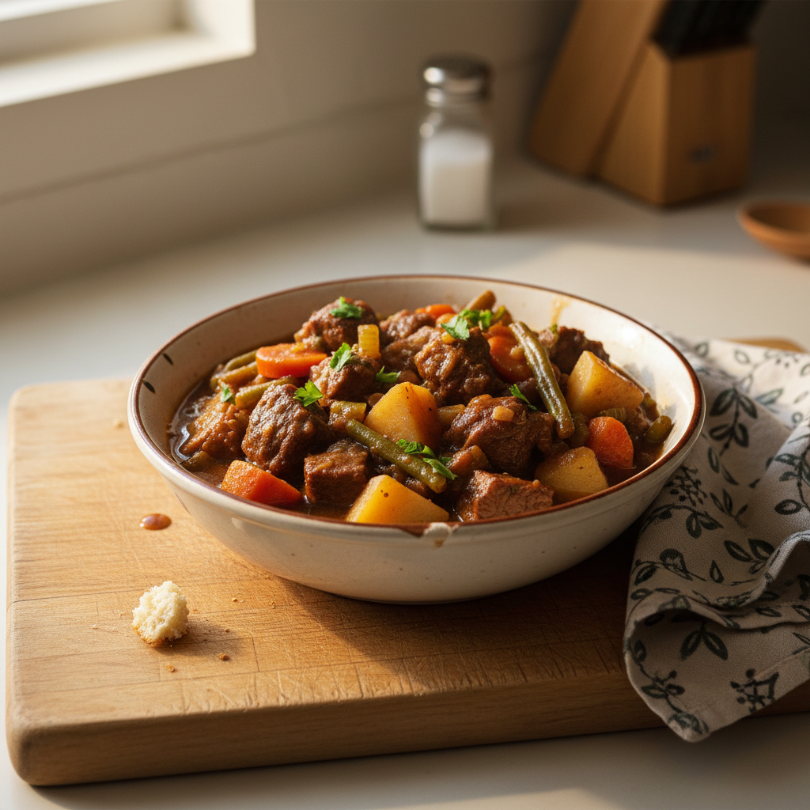
Meat and potatoes, but make it healing. This stew is packed with grass-fed beef for iron and carrots for sweetness. The broth becomes incredibly rich as it sits in the freezer. It’s the kind of meal that makes your whole house smell like a cozy Sunday afternoon, even if it’s a chaotic Tuesday morning.
Ingredients
* 2 lbs beef stew meat – cut into bite-sized chunks.
* 4 large gold potatoes – chopped into cubes.
* 3 large carrots – sliced into rounds.
* 1 yellow onion – diced.
* 4 cups beef bone broth – great for collagen and gut health.
* 2 tbsp tomato paste – for depth.
* 1 tsp dried thyme – adds an earthy aroma.
* 2 cloves garlic – smashed.
Instructions
1. Prep all your vegetables and meat.
2. Place everything EXCEPT the broth into a large gallon-sized freezer bag.
3. Squeeze out as much air as possible before sealing.
4. Freeze flat so it stacks easily.
5. Cook by dumping the bag contents into a slow cooker and adding the 4 cups of broth.
6. Set on low for 8 hours or high for 4-5 hours.
Tips
* Sear the meat — If you have ten extra minutes before freezing, brown the beef in a pan first. It adds a ton of flavor.
* Add greens last — Toss in a handful of spinach right before serving for a fresh crunch.
This is a total “set it and forget it” win. When I was deeply sleep-deprived, the last thing I wanted to do was stand over a stove. Dumping a bag into a Crockpot felt like a victory. My husband actually asks for this stew even when we don’t have a newborn in the house.
📋 Recipe Card
Slow Cooker Beef and Veggie Stew
🥗 Ingredients
- 2 lbs beef stew meat, cubed
- 4 gold potatoes, chopped
- 3 large carrots, sliced
- 1 yellow onion, diced
- 4 cups beef bone broth
- 2 tbsp tomato paste
- 1 tsp dried thyme
- 2 cloves garlic, smashed
📋 Instructions
- 1Place all ingredients except for the broth into a gallon-sized freezer bag.
- 2Seal the bag while removing as much air as possible and freeze flat.
- 3When ready to eat, thaw slightly or dump the frozen block into the slow cooker.
- 4Add 4 cups of beef bone broth.
- 5Cook on low for 8 hours or high for 4-5 hours until beef is tender.
- 6Season with salt and pepper to taste before serving.
Nourishing Chicken and Ginger Congee
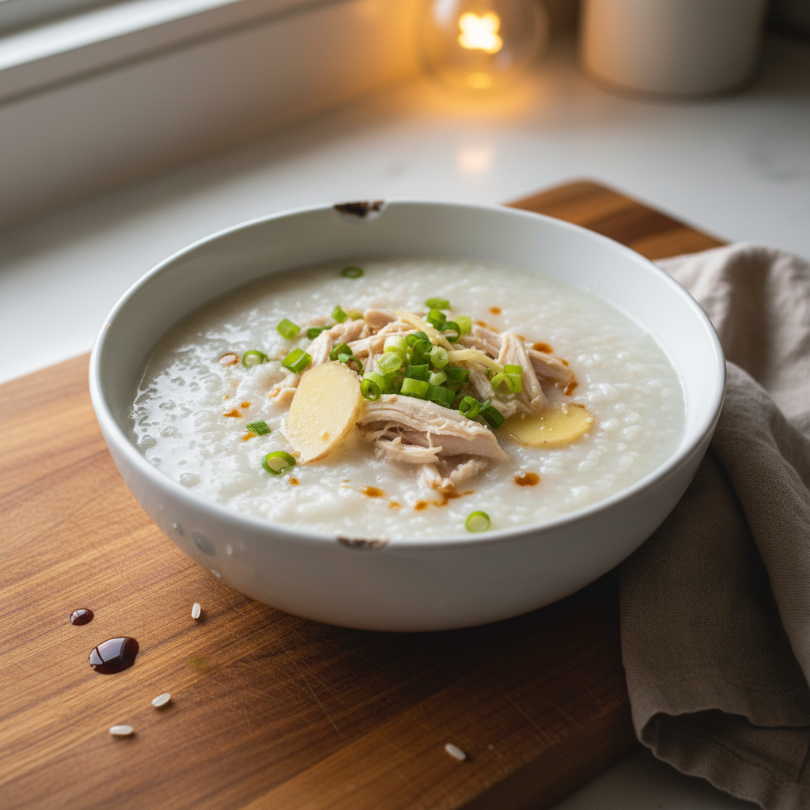
In many cultures, this is the gold standard for postpartum healing. It’s a savory rice porridge that feels incredibly gentle on a sensitive stomach. The fresh ginger is the star here—it warms you from the inside out and helps with any lingering inflammation. It’s basically a hug for your digestive system.
Ingredients
* 1 cup white jasmine rice – washed.
* 8 cups chicken stock – high quality is best.
* 1 lb chicken thighs – boneless and skinless.
* 3-inch piece of ginger – peeled and sliced into matchsticks.
* 2 tbsp soy sauce – or tamari for gluten-free.
* 1 tsp sesame oil – for that toasted finish.
* Green onions – sliced for topping.
Instructions
1. Combine rice, stock, chicken, and ginger in a large pot.
2. Simmer on low heat for about 60 to 90 minutes.
3. Stir occasionally to break down the rice until it reaches a silky, porridge-like consistency.
4. Shred the chicken directly in the pot using two forks.
5. Cool completely before portioning into freezer-safe containers or silicone molds.
6. Reheat on the stove with a splash of water to loosen it back up.
Tips
* Portion well — Freeze this in single servings so you can grab one for a quick lunch.
* Garnish matters — A drizzle of chili oil or a jammy egg makes this feel like a fancy restaurant meal.
I wasn’t sure about Congee at first, but one bite changed my mind. It’s so silky. It’s also one of the only things I could stomach when I was dealing with those first-week hormone crashes. It feels light but keeps you full.
📋 Recipe Card
Nourishing Chicken and Ginger Congee
🥗 Ingredients
- 1 cup white jasmine rice
- 8 cups chicken stock
- 1 lb boneless skinless chicken thighs
- 3-inch piece of ginger, sliced into matchsticks
- 2 tbsp soy sauce
- 1 tsp sesame oil
- Sliced green onions for garnish
📋 Instructions
- 1In a large heavy-bottomed pot, combine rice, stock, chicken, and ginger.
- 2Bring to a boil, then reduce heat to very low.
- 3Simmer for 60-90 minutes, stirring occasionally, until rice is completely broken down and porridge is thick.
- 4Remove chicken thighs, shred with forks, and stir back into the pot.
- 5Stir in soy sauce and sesame oil.
- 6Let cool and freeze in individual portions.
- 7Reheat on the stove with a splash of water or broth to reach desired consistency.
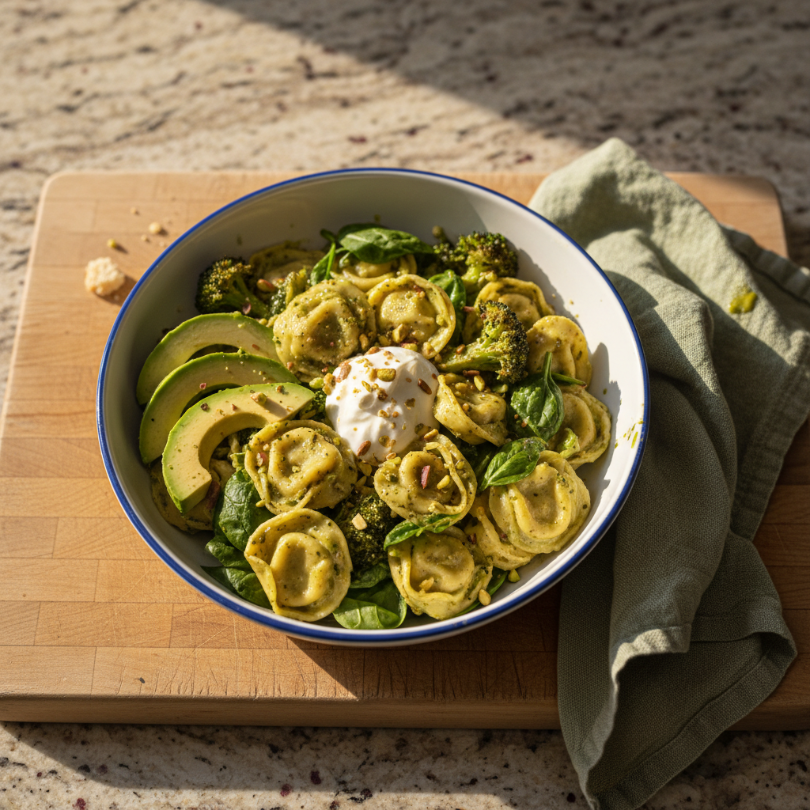
Spinach and Feta Breakfast Burritos

Breakfast is often the hardest meal to manage with a baby. These burritos are perfect because you can heat them up in a minute and eat them with one hand. We’re using a mountain of fresh spinach and eggs to give you a brain-boost first thing in the morning. The feta adds a nice salty kick that cuts through the richness.
Ingredients
* 10 large eggs – whisked.
* 5 oz fresh baby spinach – sautéed and squeezed dry.
* 1 cup crumbled feta cheese – or goat cheese.
* 1 can diced green chilies – for a tiny bit of heat.
* 8 large flour tortillas – room temperature.
* Salt and pepper – to taste.
Instructions
1. Scramble the eggs in a large pan until just barely set. Don’t overcook them!
2. Stir in the sautéed spinach, feta, and green chilies.
3. Place a scoop of the mixture in the center of each tortilla.
4. Fold in the sides and roll tightly.
5. Wrap each burrito individually in parchment paper, then in foil.
6. Store in a large freezer bag.
7. Microwave for 1.5 to 2 minutes after removing the foil.
Tips
* Dry your spinach — If you leave too much moisture in the spinach, the burritos get soggy. Squeeze it hard!
* Char the tortillas — A quick 10 seconds over a gas flame makes the tortillas more pliable and tasty.
Seriously, these saved my life. I used to grab one at 10 AM when I finally had a second to breathe. They’re savory, salty, and way better than any frozen burrito you’d buy at the store.
📋 Recipe Card
Spinach and Feta Breakfast Burritos
🥗 Ingredients
- 10 large eggs
- 5 oz fresh baby spinach, cooked and drained
- 1 cup crumbled feta cheese
- 1 can (4 oz) diced green chilies
- 8 large flour tortillas
- Salt and pepper to taste
📋 Instructions
- 1Whisk eggs and scramble in a pan over medium heat until just set.
- 2Stir in the cooked spinach (make sure it’s squeezed dry!), feta, and chilies.
- 3Divide the egg mixture evenly among the 8 tortillas.
- 4Fold in the sides and roll into burritos.
- 5Wrap each burrito tightly in parchment paper and then aluminum foil.
- 6Store all wrapped burritos in a freezer bag.
- 7To reheat: remove foil, keep in parchment paper, and microwave for 90-120 seconds.
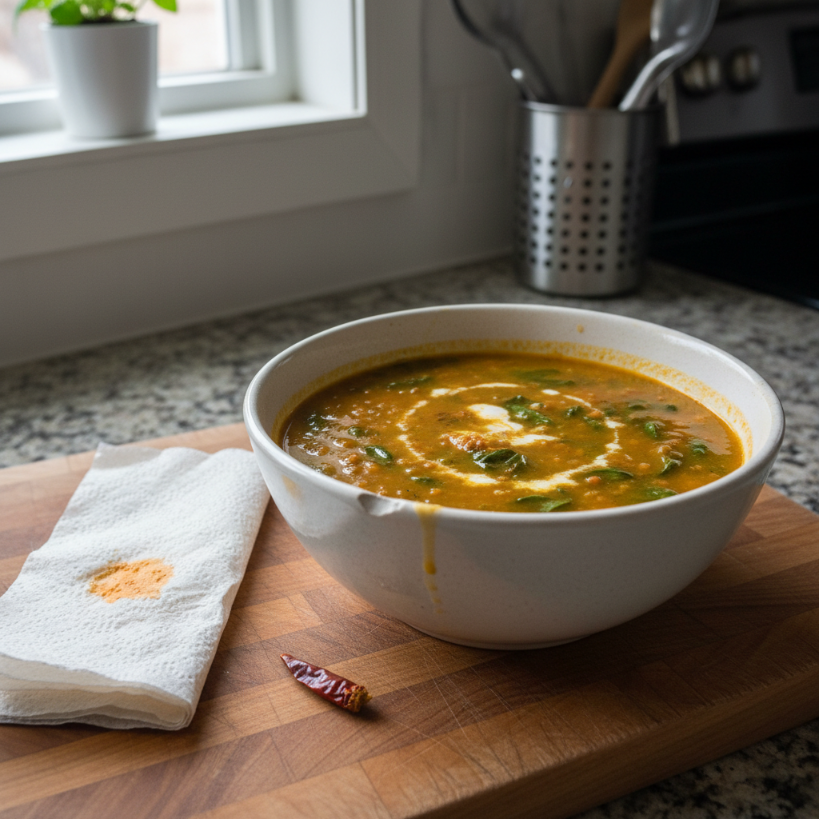
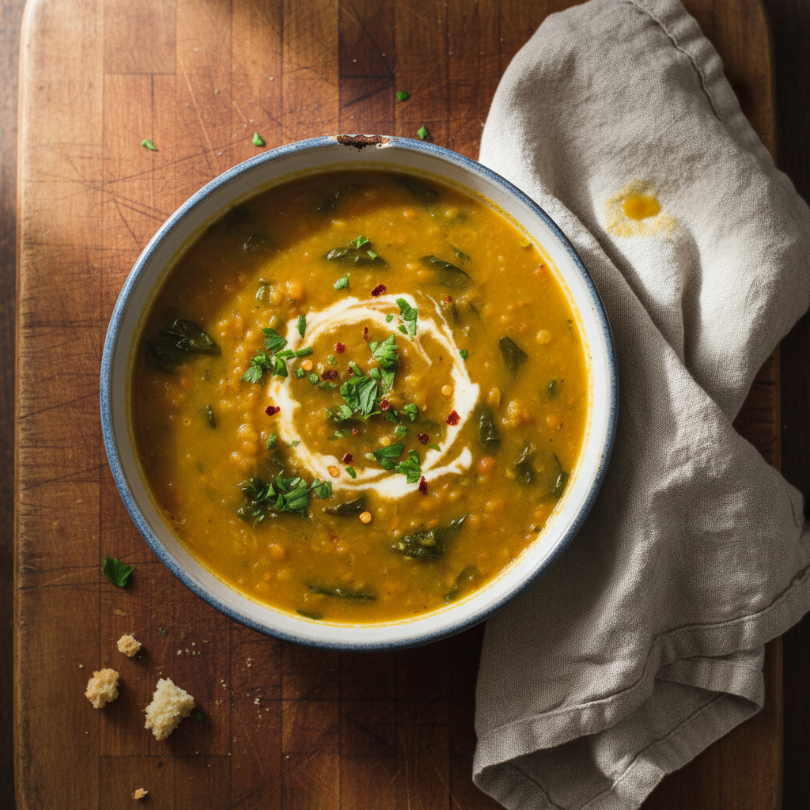
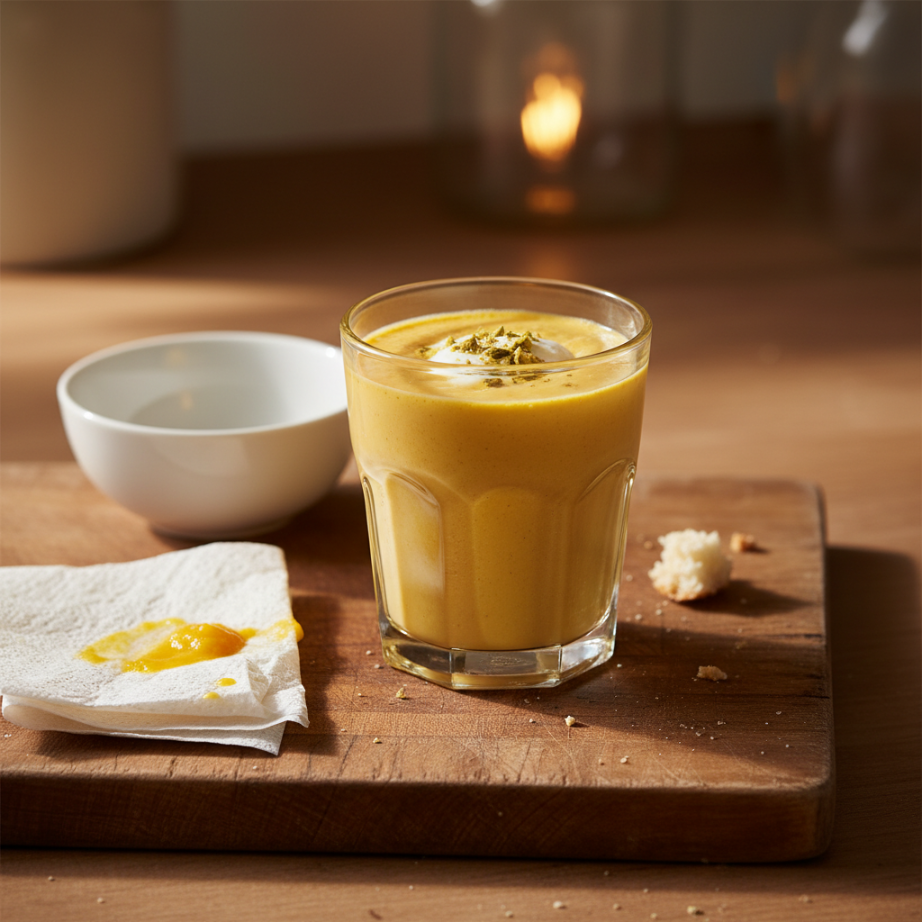
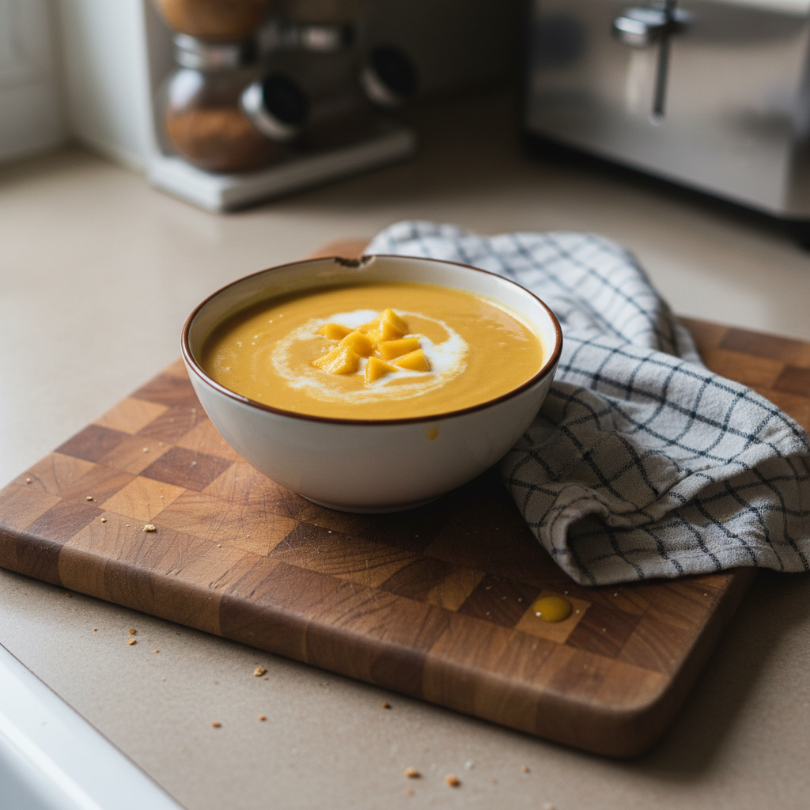
Red Lentil “Dahl” Soup

Lentils are a nursing parent’s best friend. They are loaded with iron and protein. This soup is earthy, slightly spicy, and incredibly cheap to make. The turmeric in the recipe is a natural anti-inflammatory, which is exactly what your body needs after birth.
Ingredients
* 2 cups red lentils – rinsed.
* 1 can coconut milk – full fat for those healthy fats.
* 1 onion – diced.
* 3 cloves garlic – minced.
* 1 tbsp turmeric – for healing.
* 1 tbsp curry powder – mild or spicy.
* 6 cups vegetable broth.
* 1 lemon – juiced.
Instructions
1. Sauté the onion and garlic in a large pot until soft.
2. Add the spices and let them toast for a minute until they smell incredible.
3. Stir in lentils, broth, and coconut milk.
4. Boil, then turn down to low. Simmer for 20 minutes until the lentils are soft.
5. Blend half the soup if you want it creamier, or leave as-is.
6. Freeze in airtight containers.
Tips
* Red lentils only — Don’t use green or brown lentils; they won’t break down into that beautiful creamy texture.
* Freeze flat — Use freezer bags laid flat on a cookie sheet to save space.
This soup is so vibrant and cheering. The yellow color alone makes me happy. I always keep a few jars of this in the back of the freezer for when I feel a cold coming on or just need something grounding.
📋 Recipe Card
Red Lentil “Dahl” Soup
🥗 Ingredients
- 2 cups red lentils, rinsed
- 1 can (14 oz) full-fat coconut milk
- 1 yellow onion, diced
- 3 cloves garlic, minced
- 1 tbsp turmeric
- 1 tbsp mild curry powder
- 6 cups vegetable broth
- Juice of 1 lemon
📋 Instructions
- 1Sauté onion and garlic in a large pot until translucent.
- 2Add turmeric and curry powder, cooking for 1 minute until fragrant.
- 3Stir in lentils, coconut milk, and vegetable broth.
- 4Bring to a boil, then simmer on low for 20 minutes until lentils are soft and creamy.
- 5Stir in lemon juice.
- 6Cool completely and freeze in airtight containers, leaving room at the top for expansion.
- 7Thaw and reheat on the stove over medium heat.
General Tips & Tricks
When freezing meals, air is your enemy. Use high-quality freezer bags and squeeze out every last bubble. Always thaw your meals in the fridge overnight if possible; it helps the texture stay consistent. Don’t forget to eat! Set a timer if you have to. Your body needs fuel to take care of that tiny human.
Conclusion
Prepping these meals is the best thing you can do for your postpartum self. It’s self-care in its most practical form. You’ve got this, mama. Enjoy those baby snuggles and these cozy, homemade meals.