Frozen yogurt that tastes like velvet. A warm, gooey brownie that actually hits your macros. These treats stop the late-night kitchen raids for good.
I used to be the person who’d finish a healthy dinner and immediately hunt for a hidden bag of chocolate chips. It felt like my body was screaming for a “closer” to the meal. But sugar crashes are the worst when you’re trying to stay on track. Last October, I started experimenting with Greek yogurt and whey protein to see if I could make something that didn’t taste like chalk. It changed everything. These four recipes are the ones I make on repeat—especially when I’m trying to lean out but still want to feel like I’m “cheating.” They’re fast, filling, and actually taste like real food.
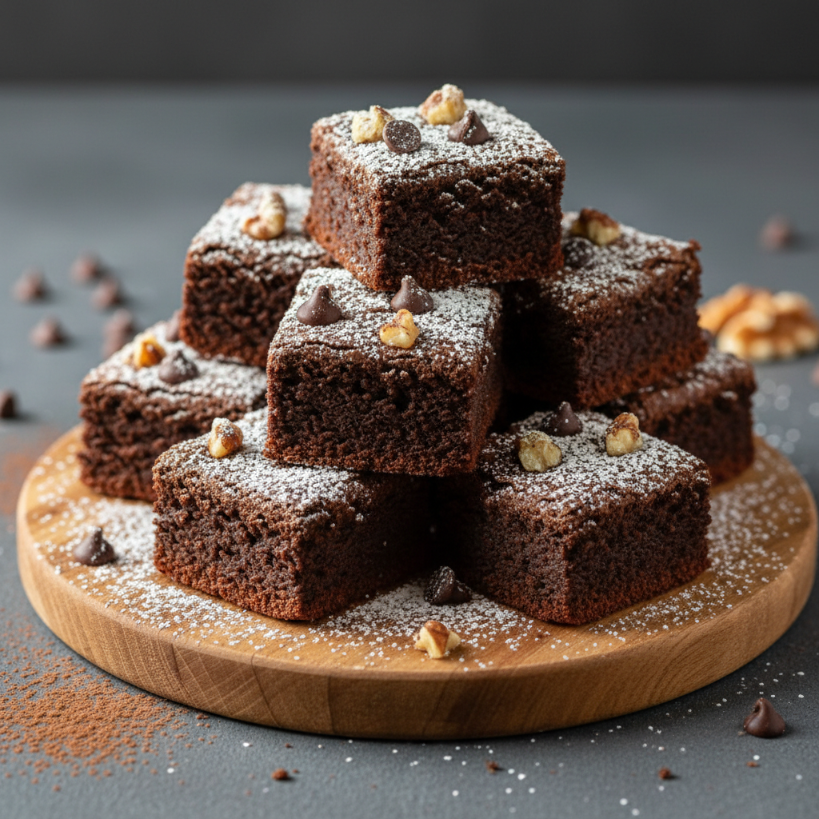
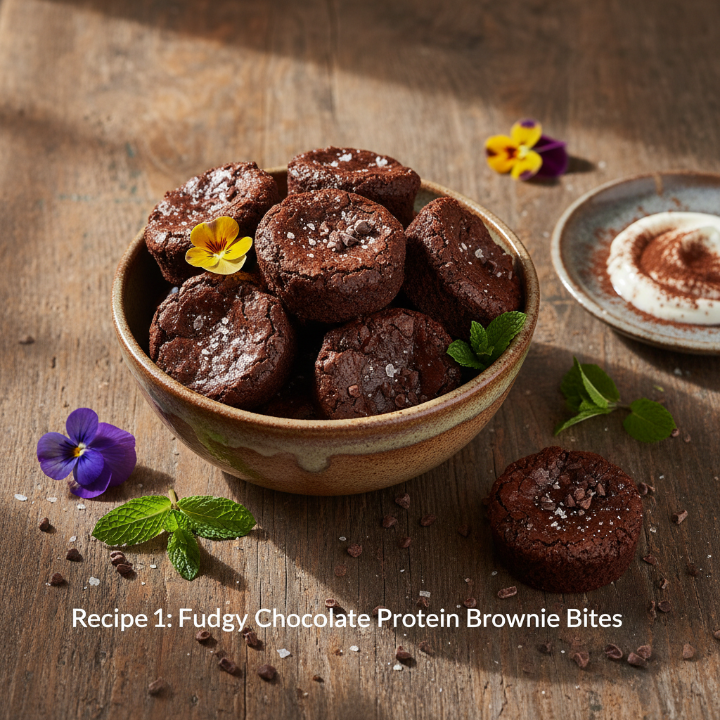
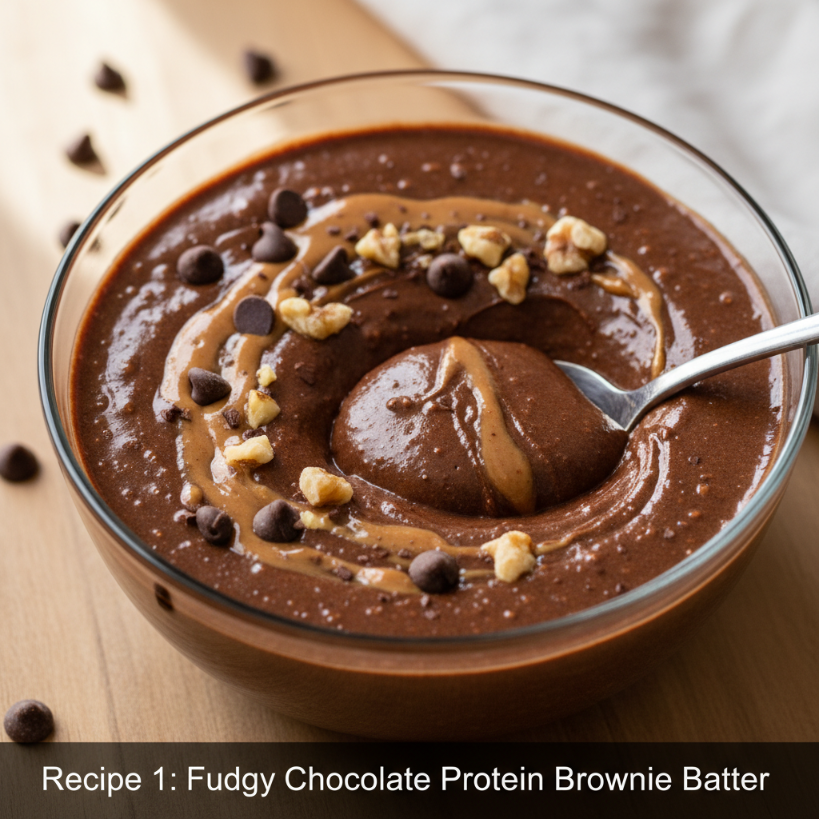
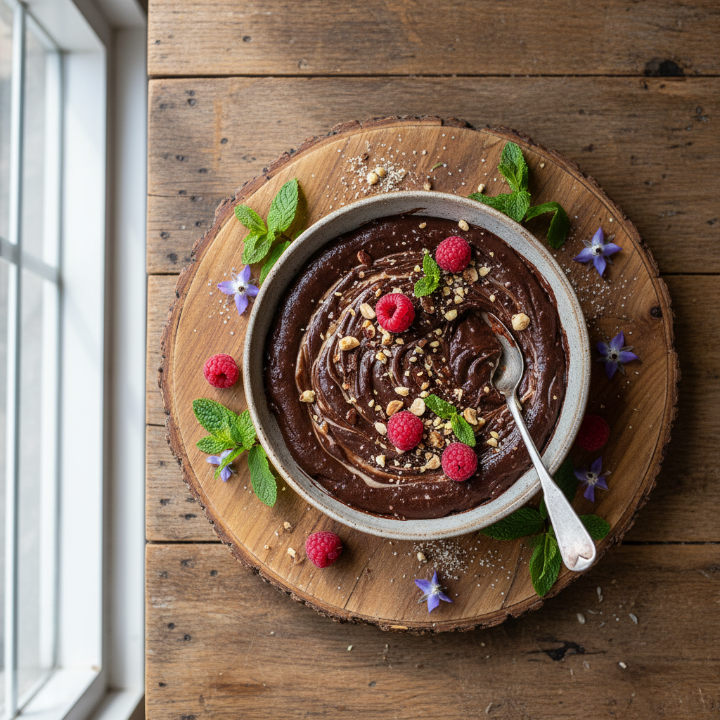
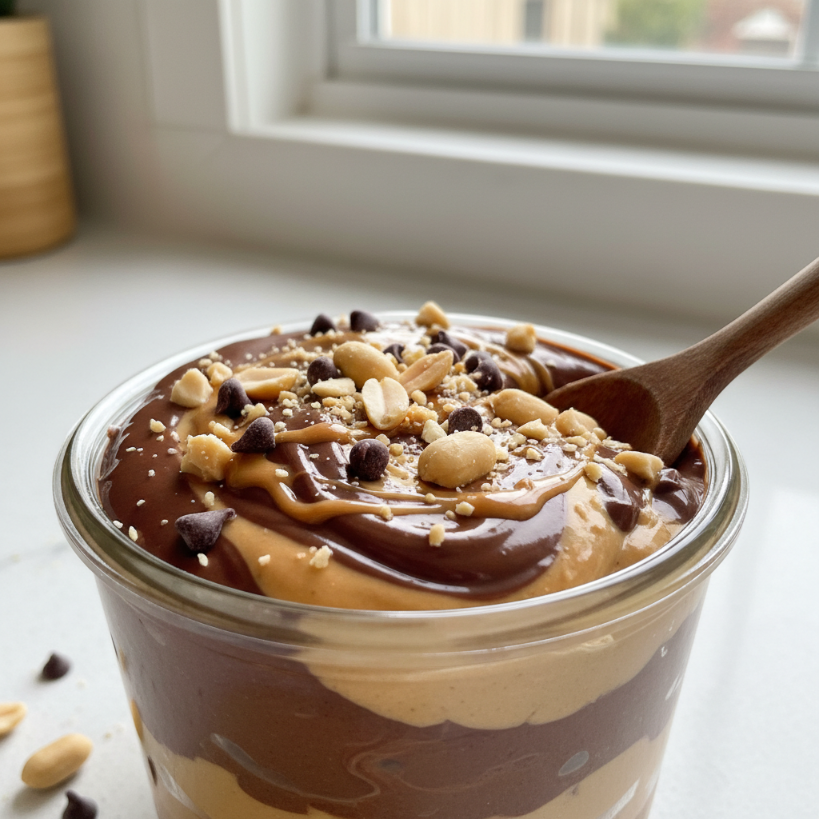
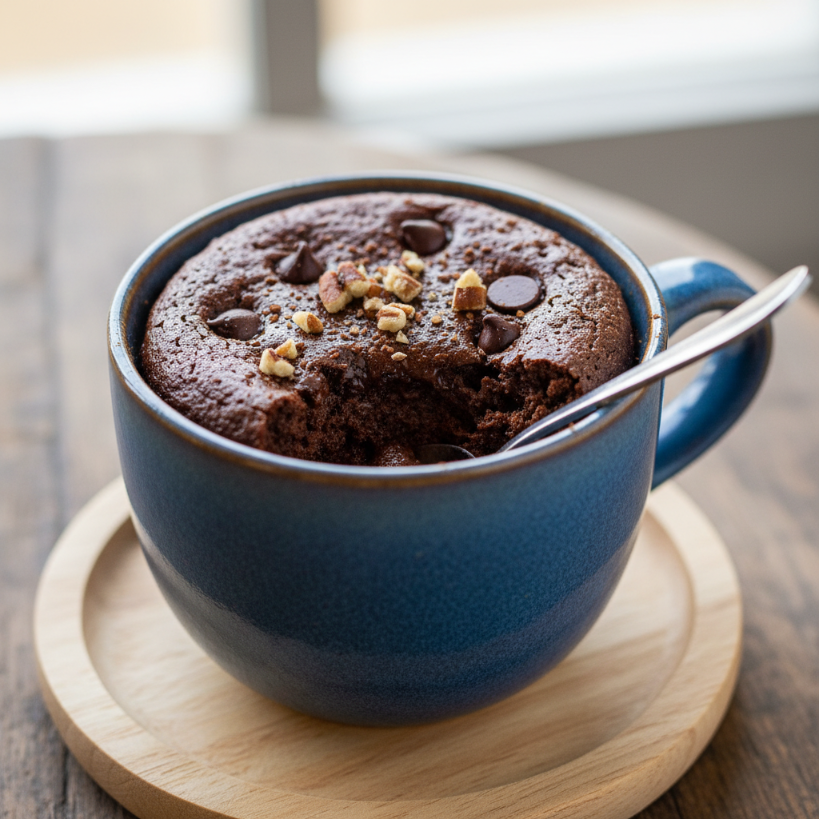
Fudgy Chocolate Protein Mug Cake
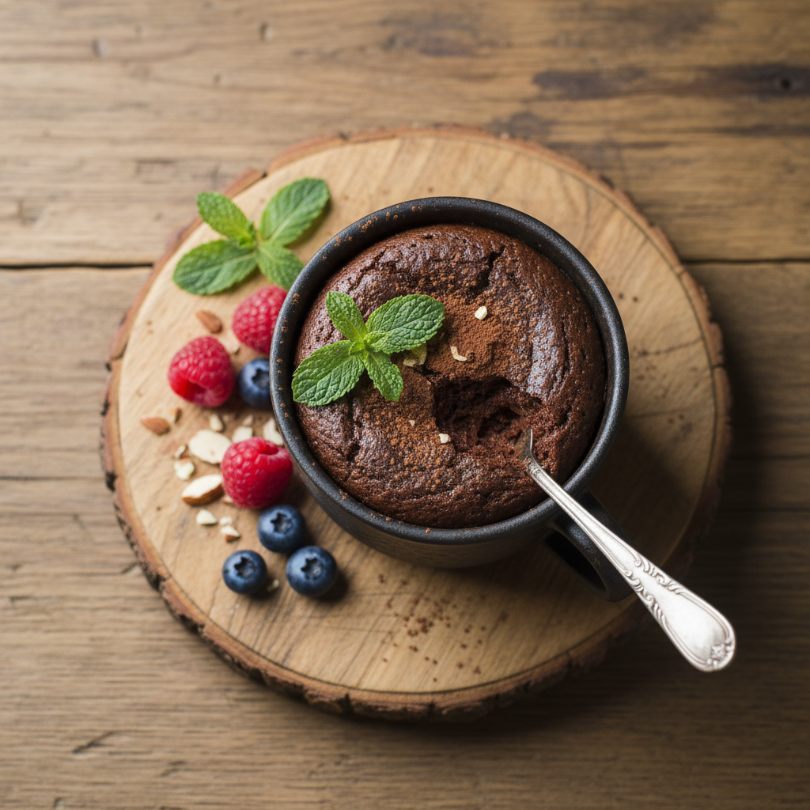
This is my “emergency” dessert. You know those nights when you’re tired, the kitchen is clean, but you need a chocolate fix *now*? This takes two minutes. It’s dense, moist, and doesn’t have that weird rubbery texture most microwave cakes have. I like to underbake mine slightly so the center stays a bit molten.
Ingredients
– 1 scoop chocolate whey protein — go for a blend if you can for better texture
– 1 tbsp unsweetened cocoa powder — the dark kind is best
– 1/4 tsp baking powder — gives it that necessary lift
– 3 tbsp unsweetened almond milk — or any milk you have in the fridge
– 1 tsp mini dark chocolate chips — because we aren’t monsters
– 1 tsp stevia or maple syrup — just a touch of extra sweetness
Instructions
1. Grab a standard coffee mug and spray it with a tiny bit of non-stick oil.
2. Whisk the dry stuff directly in the mug. Make sure the protein powder and cocoa are mixed well so you don’t get a dry puff of powder mid-bite.
3. Stir in the milk. It’ll look thick, like brownie batter. That’s exactly what you want.
4. Fold in the chocolate chips and press a few into the top.
5. Microwave on high for about 45–55 seconds. Don’t overdo it! If the top looks set but slightly tacky, it’s done.
6. Let it sit for one minute. This is the hardest part, but it helps the texture finish setting.
Tips
– Check your protein type. Whey-casein blends work best for baking because they don’t dry out as fast as pure whey isolate.
– Add a pinch of salt. It makes the chocolate flavor pop like crazy.
I make this at least three times a week. It’s my go-to when I’ve had a stressful day and just want to curl up on the couch. It’s incredibly satisfying because of the volume. Plus, using a mug means no pile of dishes to scrub later.
📋 Recipe Card
Recipe 1: Fudgy Chocolate Protein Mug Cake
🥗 Ingredients
- 1 scoop (30g) chocolate whey protein
- 1 tbsp unsweetened cocoa powder
- 1/4 tsp baking powder
- 3 tbsp unsweetened almond milk
- 1 tsp mini dark chocolate chips
- 1 tsp stevia or maple syrup
📋 Instructions
- 1Lightly grease a microwave-safe mug with cooking spray.
- 2Whisk the protein powder, cocoa powder, and baking powder in the mug until combined.
- 3Stir in the almond milk and sweetener until a thick batter forms.
- 4Gently fold in the chocolate chips.
- 5Microwave on high for 45-55 seconds until the top is set but still soft.
- 6Let rest for 1 minute before eating.
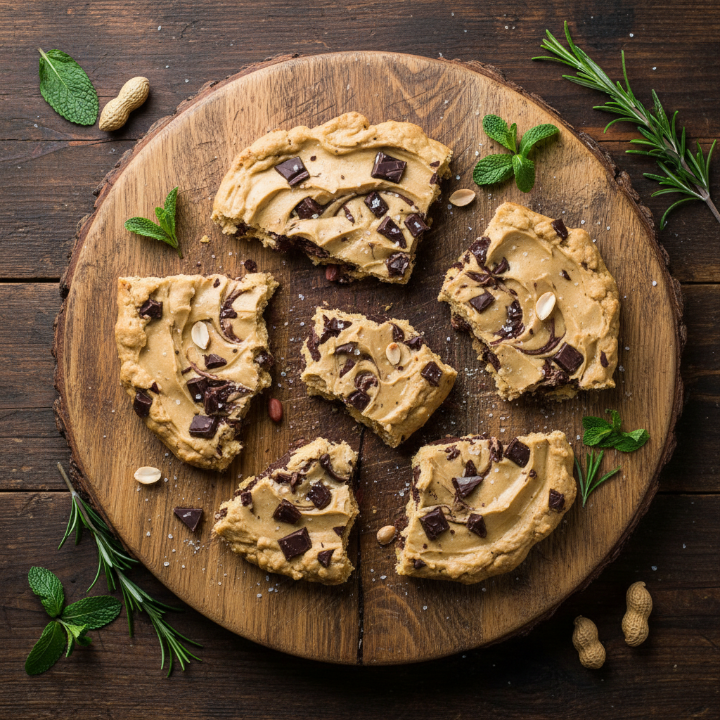
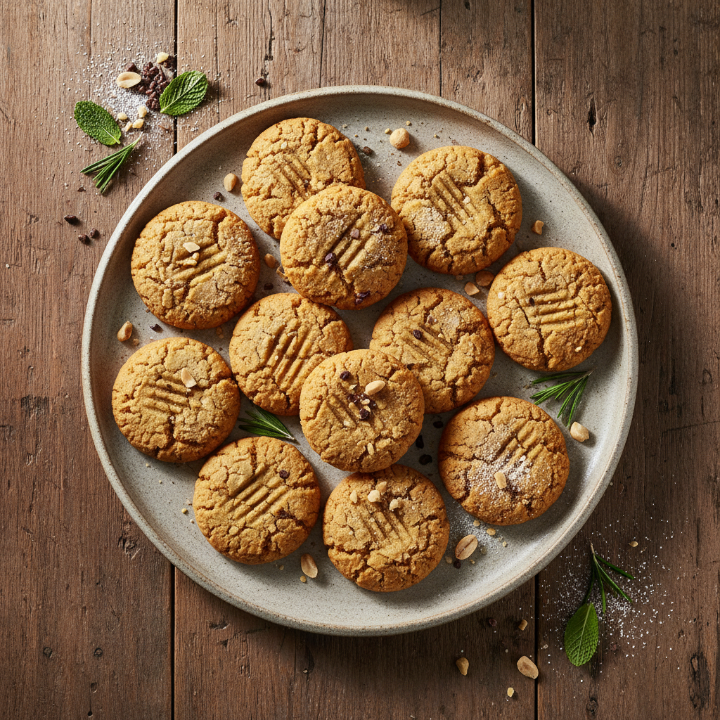
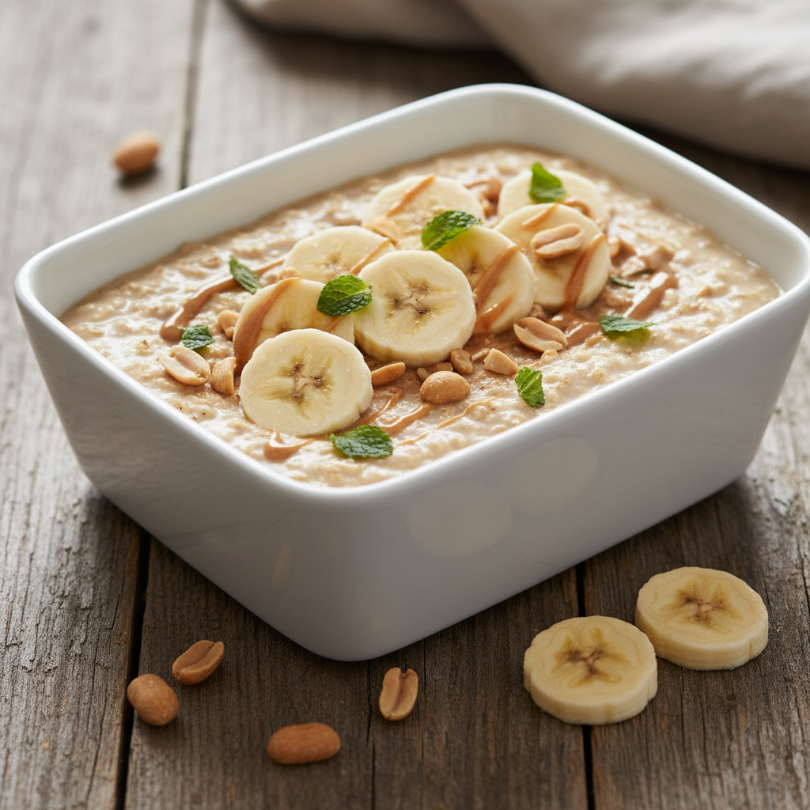
Creamy Peanut Butter Cookie Dough Bowls
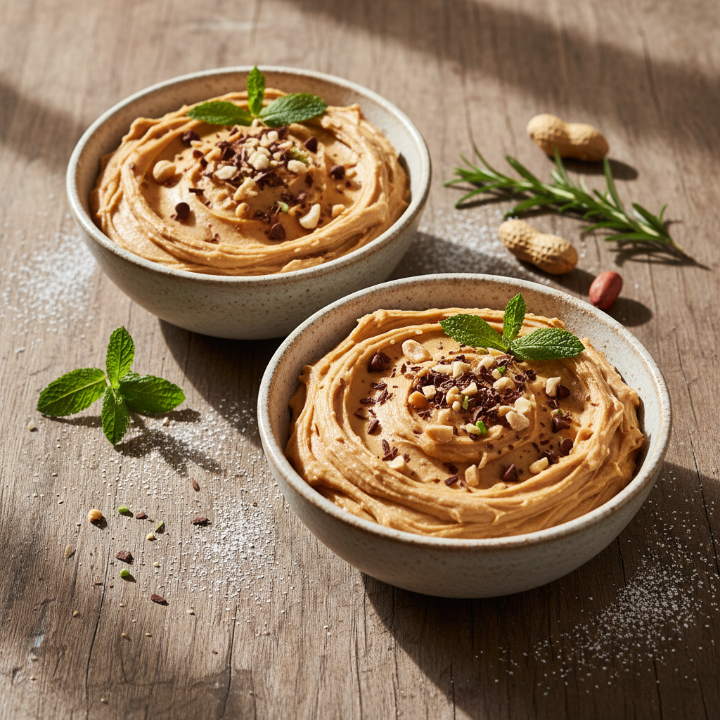
I call this “legal” cookie dough. It’s thick, creamy, and packed with protein thanks to a base of Greek yogurt. Most people think yogurt desserts are thin and runny, but when you mix in the right ingredients, it turns into a spoonable dough that tastes like a REESE’S cup.
Ingredients
– 3/4 cup non-fat plain Greek yogurt — it must be Greek for the thickness
– 1 tbsp peanut butter powder — all the flavor, way less fat
– 1/2 scoop vanilla protein powder — adds sweetness and structure
– 1/2 tsp vanilla extract — don’t skip this, it provides that “baked” aroma
– 1 tbsp crushed graham crackers — for that slightly gritty cookie feel
– A drizzle of honey — optional, but recommended if your yogurt is tart
Instructions
1. Spoon the yogurt into a small bowl. Use a paper towel to blot the top if there’s any liquid (whey) sitting on top.
2. Mix in the protein powder and peanut butter powder slowly. If you stir too fast, the powder will fly everywhere.
3. Add the vanilla and honey. Keep stirring until it’s completely smooth and looks like thick frosting.
4. Sprinkle the graham crackers on top right before you eat it so they stay crunchy.
5. Chill for 10 minutes if you want a firmer, colder texture.
Tips
– Use a wide bowl. It makes it feel like more food, which helps with the psychological side of cravings.
– The PB powder matters. If you use real peanut butter, it’s still good, but the calories jump up significantly.
This is the ultimate post-workout treat. It’s cold, refreshing, but feels heavy enough to actually kill a craving. My husband, who usually hates “healthy” versions of things, actually steals bites of this every time.
📋 Recipe Card
Recipe 2: Creamy Peanut Butter Cookie Dough Bowls
🥗 Ingredients
- 3/4 cup non-fat plain Greek yogurt
- 1 tbsp peanut butter powder (PB2)
- 1/2 scoop vanilla protein powder
- 1/2 tsp vanilla extract
- 1 tbsp crushed graham crackers
- 1 tsp honey (optional)
📋 Instructions
- 1Place the Greek yogurt in a small mixing bowl.
- 2Stir in the peanut butter powder and vanilla protein powder until smooth.
- 3Add the vanilla extract and honey, mixing thoroughly.
- 4Top with the crushed graham crackers just before serving for maximum crunch.
- 5Optional: Chill in the freezer for 5-10 minutes for a thicker texture.
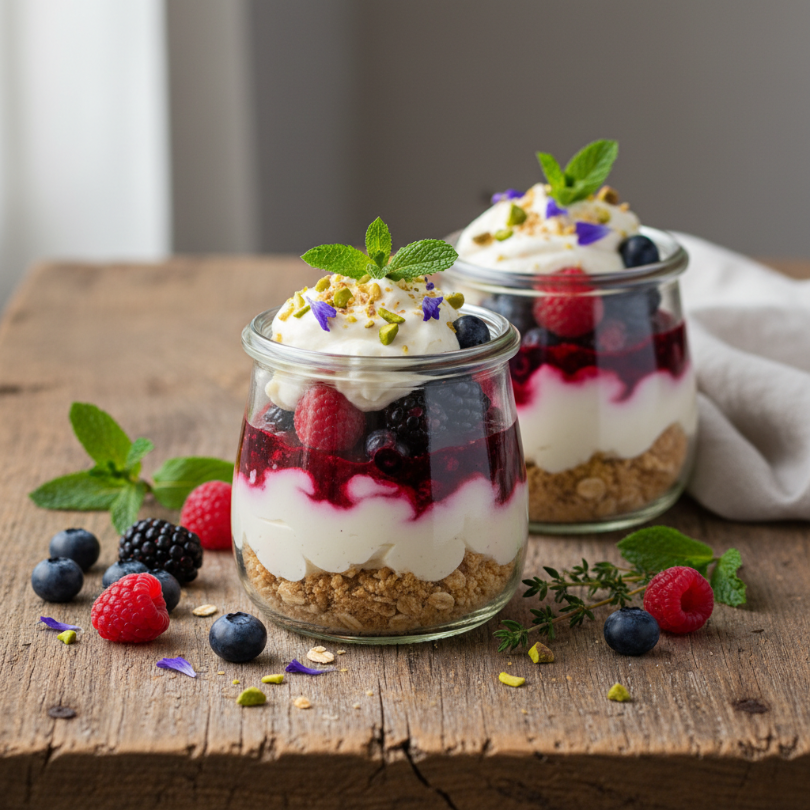
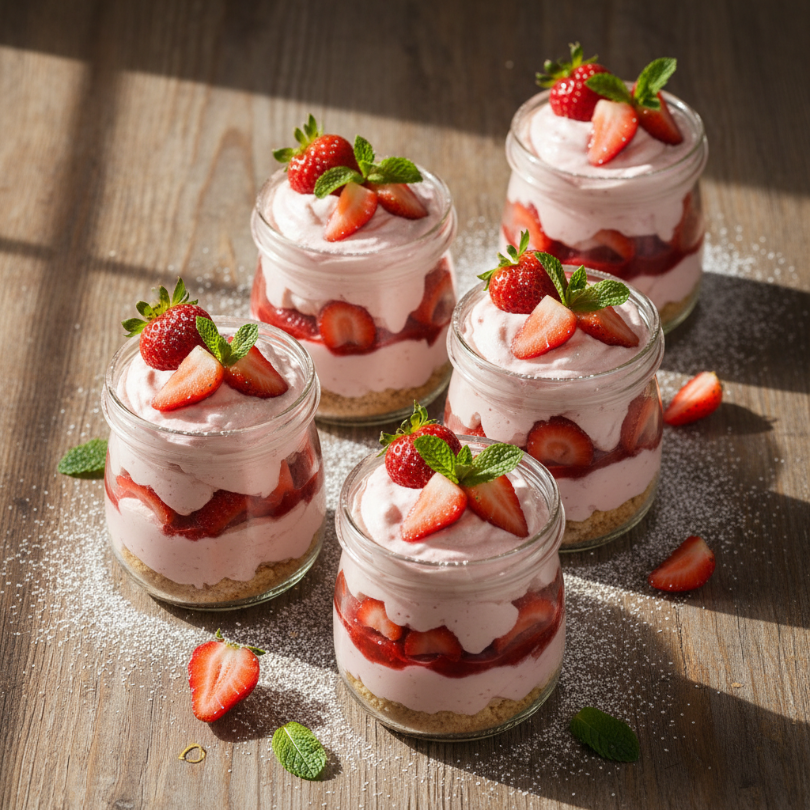
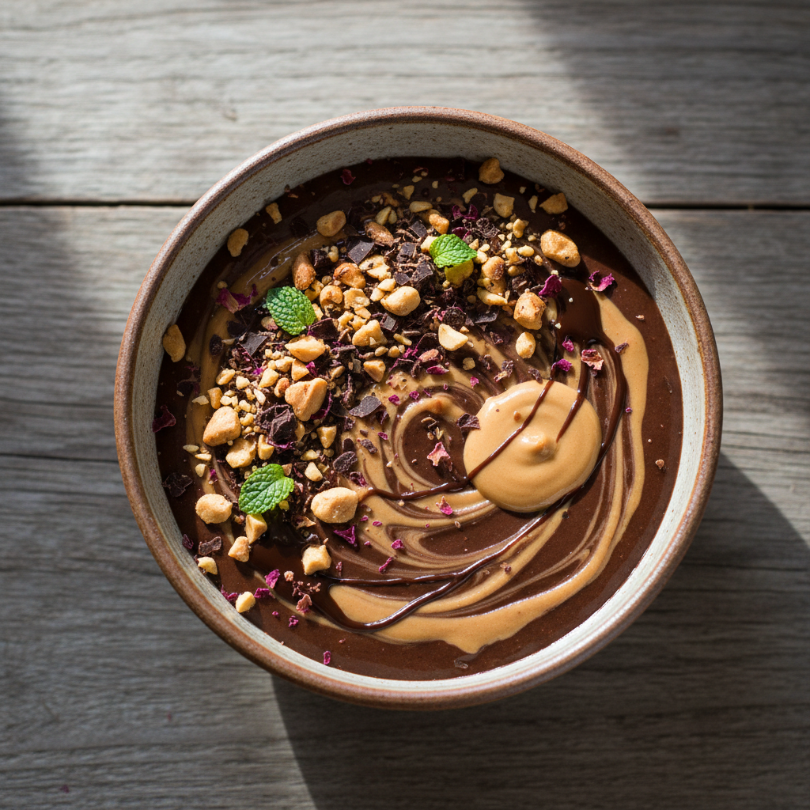
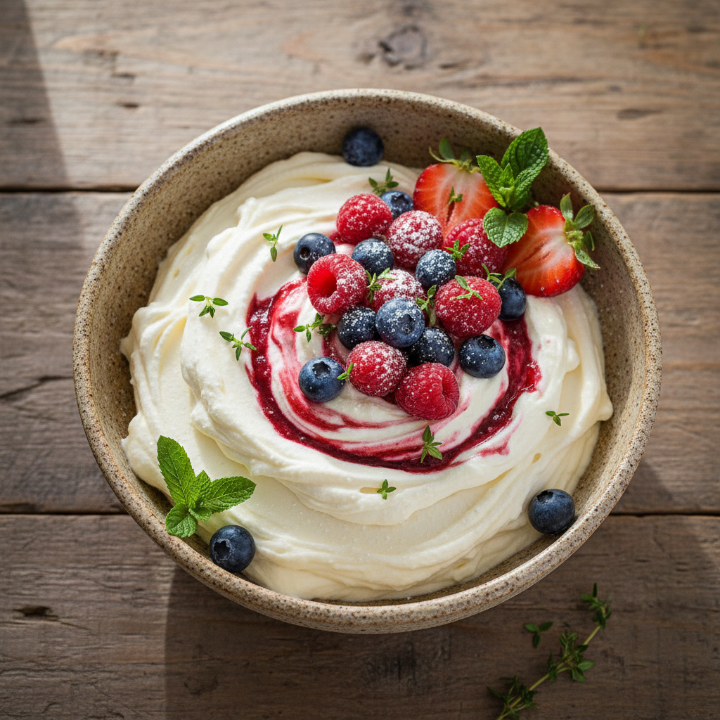
Berry Cheesecake Protein Fluff
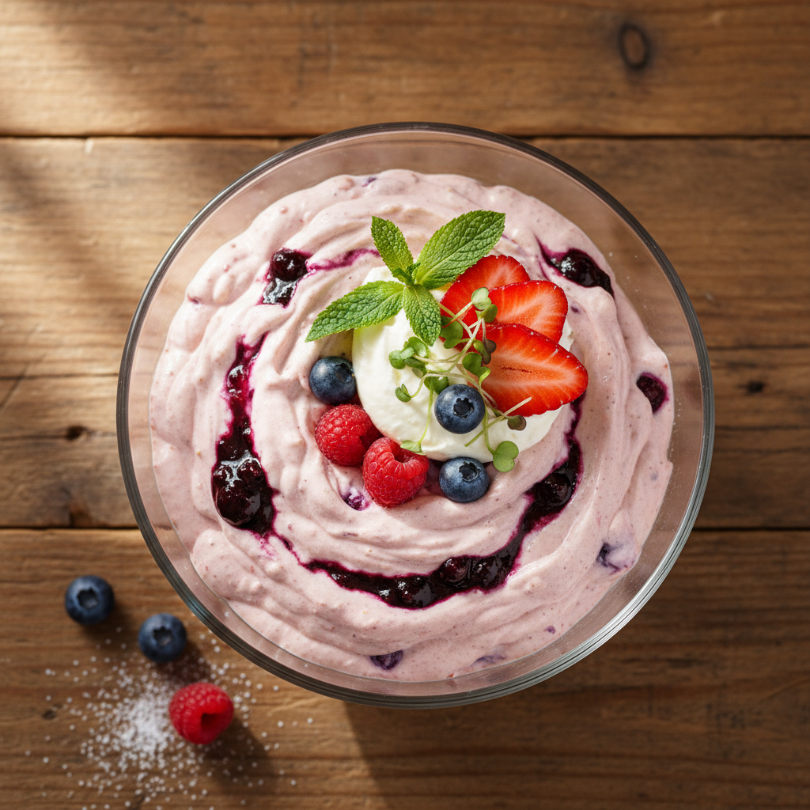
If you miss eating huge portions of food, this is for you. Fluff is a volume eater’s dream. It’s light, airy, and looks like a giant bowl of soft-serve ice cream. The secret is using frozen berries to create that icy, thick consistency.
Ingredients
– 1 cup frozen strawberries — slightly thawed for 5 minutes
– 1/2 scoop vanilla whey protein — acts as the binder
– 1/4 cup splash of milk — just enough to get the blades moving
– 1 tbsp sugar-free cheesecake pudding mix — this is the “cheat code” for flavor
– 5-6 ice cubes — for extra volume
Instructions
1. Throw the frozen berries and ice cubes into a high-powered blender or food processor.
2. Pulse until crushed. It’ll look like a grainy slushy at first.
3. Add the protein powder, pudding mix, and milk.
4. Blend on high for 2–3 minutes. You’ll see the mixture start to expand and turn pale pink.
5. Watch for the “fluff.” It should double in size as air gets whipped into the protein.
6. Transfer to a bowl and eat immediately. It loses its air if it sits too long!
Tips
– A good blender is key. You need something with enough power to whip the air in.
– Don’t add too much liquid. If it’s too wet, it becomes a smoothie. We want it thick enough to hold a peak.
This feels like a magic trick. You start with a handful of berries and end up with a massive bowl of mousse. It’s perfect for those days when you’ve used most of your calories on dinner but still feel like “eating your feelings.”
📋 Recipe Card
Recipe 3: Berry Cheesecake Protein Fluff
🥗 Ingredients
- 1 cup frozen strawberries
- 1/2 scoop vanilla whey protein
- 1/4 cup unsweetened almond milk
- 1 tbsp sugar-free cheesecake pudding mix
- 5-6 ice cubes
📋 Instructions
- 1Add frozen strawberries and ice cubes to a high-speed blender and pulse until broken down.
- 2Add the protein powder, pudding mix, and milk.
- 3Blend on high speed for 2-3 minutes until the mixture doubles in volume and becomes airy.
- 4If the blender gets stuck, add a tiny splash more milk.
- 5Spoon into a large bowl and serve immediately while cold and fluffy.
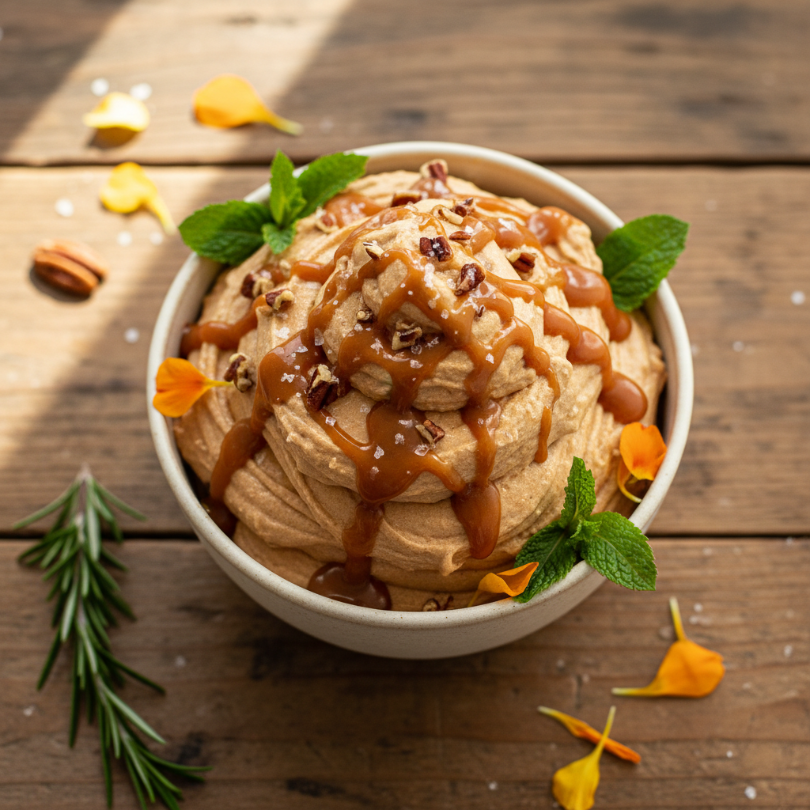
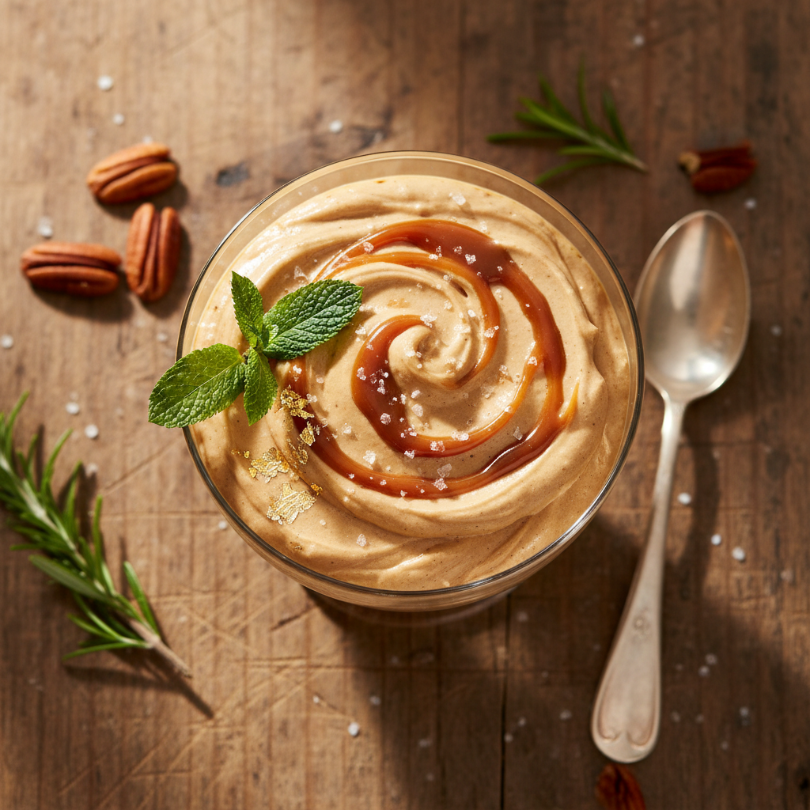
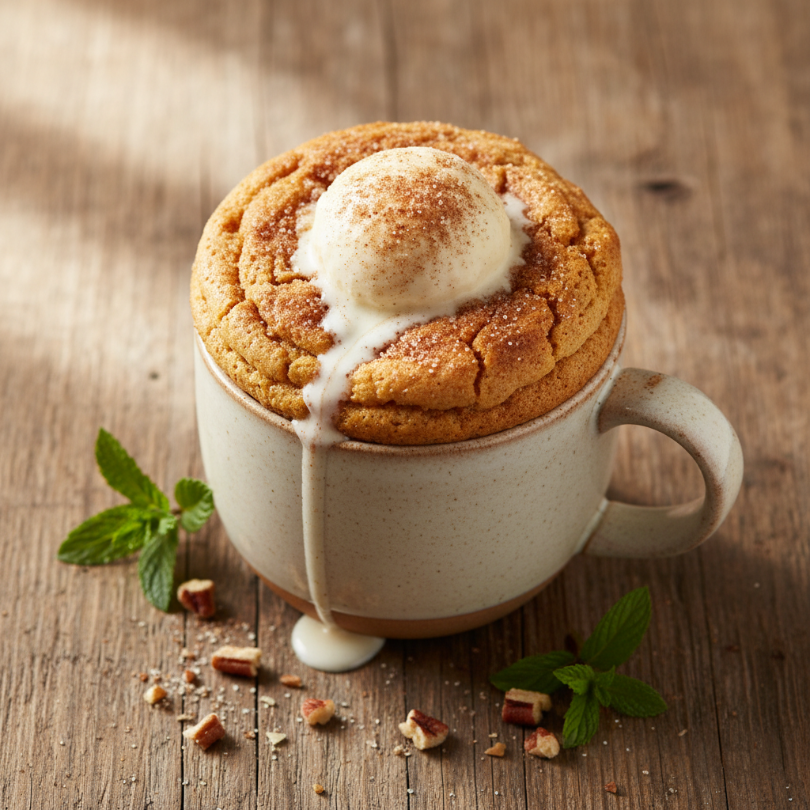
Cinnamon Sugar Baked Apple Crisp

When it’s cold outside, I want something warm. This recipe uses a clever trick for the “oat” topping—mixing protein powder with a tiny bit of oats to create a crunchy, sweet rubble that tastes like autumn.
Ingredients
– 1 medium apple — Honeycrisp or Granny Smith work best
– 1/2 tsp cinnamon — be generous with it
– 1/4 cup rolled oats — for that classic crunch
– 1/2 scoop salted caramel or vanilla protein powder — the flavor base
– 1 tbsp melted coconut oil or butter — to bind the topping
– A squeeze of lemon juice — prevents the apple from browning
Instructions
1. Preheat your oven to 375°F (190°C).
2. Core and slice the apple into thin wedges. Toss them in a small baking dish with lemon juice and a sprinkle of cinnamon.
3. Mix the topping. In a separate small bowl, combine the oats, protein powder, remaining cinnamon, and melted oil. It should look like wet sand.
4. Crumble the mixture over the apples, covering them completely.
5. Bake for 15 minutes until the apples are soft and the topping looks golden and crispy.
6. Let it cool for 5 minutes. The topping gets crunchier as it cools down!
Tips
– Microwave shortcut. If you’re in a rush, microwave the apples for 2 minutes first, then add the topping and broil for 3 minutes.
– Top with yogurt. A dollop of cold Greek yogurt on top of the hot apples is heaven.
This is my Sunday night staple. It smells like a professional bakery, and it’s a great way to get some fiber in while still feeling like you’re having a decadent crumble. It’s cozy, sweet, and doesn’t leave you feeling bloated.
📋 Recipe Card
Recipe 4: Cinnamon Sugar Baked Apple Crisp
🥗 Ingredients
- 1 medium Honeycrisp or Granny Smith apple, sliced
- 1/2 tsp ground cinnamon
- 1/4 cup rolled oats
- 1/2 scoop salted caramel or vanilla protein powder
- 1 tbsp melted coconut oil
- 1 tsp lemon juice
📋 Instructions
- 1Preheat your oven to 375°F (190°C).
- 2In a small baking dish, toss the apple slices with lemon juice and half the cinnamon.
- 3In a separate bowl, mix the oats, protein powder, remaining cinnamon, and melted coconut oil until crumbly.
- 4Spread the oat mixture evenly over the apples.
- 5Bake for 15-18 minutes until the apples are tender and the topping is golden brown.
- 6Allow to cool slightly before serving.
General Tips & Tricks
When making high-protein desserts, remember that protein powder brands vary wildly. Some absorb more liquid than others. Always start with less liquid and add a teaspoon at a time until you hit that dreamy, creamy consistency. Also, don’t overcook anything in the microwave—it’s the fastest way to turn a treat into a brick.
Conclusion
Eating for fat loss doesn’t mean eating boring food. These four recipes are proof that you can hit your protein goals while actually enjoying your “diet.” Give the mug cake a try tonight—you won’t regret it!