The sun hasn’t even come up, but my four-month-old has certainly decided the day begins at 5:15 AM. My eyes are heavy. My coffee is already getting cold on the nightstand. Honestly, the hunger hits different when you’re navigating the early months of motherhood. You need fuel, but you don’t have twenty minutes to stand over a stove flipping delicate crepes. I’ve found that hitting 30 grams of protein before my second cup of coffee is the only way I don’t crash by noon.
These recipes are for the tired, the busy, and the hungry. They’re all under 300 calories, so you can feel light and energized, but packed with enough protein to actually keep you full while you’re walking the floor or doing the third load of laundry. I survived on these during those hazy postpartum weeks. They’re quick, hit those savory and sweet cravings, and most importantly, they actually taste like real food.
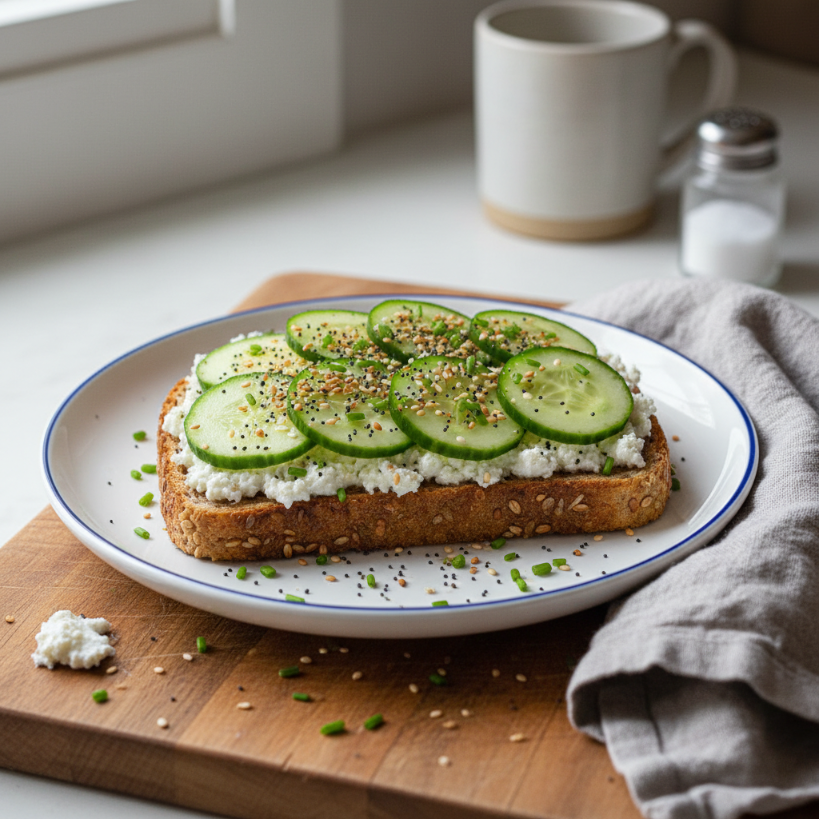
Everything Bagel Cottage Cheese Toast
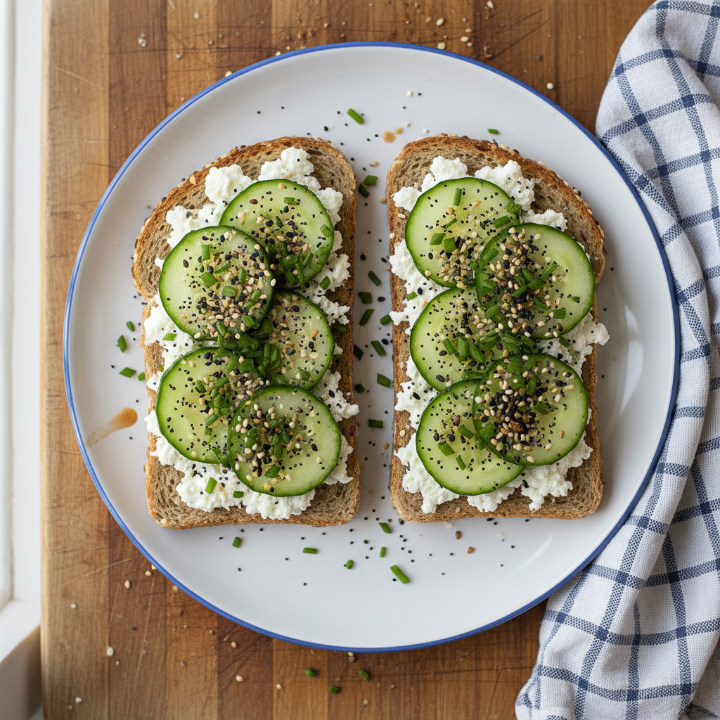
If you haven’t jumped on the cottage cheese trend yet, this is your sign. It sounds retro, but when you whip it or spread it thick on a piece of sprouted grain bread, it turns into this creamy, salty dream. It’s significantly higher in protein than cream cheese but gives you that same satisfying tang. I love the crunch of the everything bagel seasoning paired with thin cucumber slices. It feels fancy even if you’re eating it over a diaper bag.
Ingredients
* 1 slice sprouted grain bread (like Ezekiel) — toasted until very crisp
* 1/2 cup low-fat cottage cheese — small curd works best for spreading
* 1 tsp everything bagel seasoning — store-bought or DIY
* 4 thin slices cucumber — for that refreshing crunch
* 1 tsp fresh chives — chopped, for a pop of color
Instructions
1. Toast your bread until it’s sturdy enough to hold the weight of the cottage cheese.
2. Spread the cottage cheese in an even, thick layer across the warm toast.
3. Layer your cucumber slices across the top, overlapping them slightly.
4. Sprinkle the everything bagel seasoning generously over the entire surface.
5. Garnish with fresh chives and a crack of black pepper if you’re feeling extra.
Tips
* Go savory — Add a slice of smoked salmon if you have some in the fridge for an extra 5g of protein.
* Avoid sogginess — Only assemble right before you eat it so the bread stays crunchy.
I used to think cottage cheese was just something my grandma ate with canned peaches. Then I tried it on toast with spice, and my world changed. It’s my go-to when the baby is napping and I only have three minutes to feed myself.
It’s surprisingly filling for such a small calorie count. The crunch of the toast and the creaminess of the cheese satisfy that “I need a bagel” craving without the heavy carb slump later.
📋 Recipe Card
Everything Bagel Cottage Cheese Toast
🥗 Ingredients
- 1 slice sprouted grain bread
- 1/2 cup low-fat cottage cheese
- 1 tsp everything bagel seasoning
- 4 thin slices cucumber
- 1 tsp fresh chives, chopped
📋 Instructions
- 1Toast the sprouted grain bread until golden and crisp.
- 2Spread the cottage cheese evenly over the warm toast.
- 3Place cucumber slices on top of the cheese.
- 4Sprinkle with everything bagel seasoning.
- 5Top with fresh chives and serve immediately.
Smoked Paprika Egg White Bites

These are the ultimate “grab-and-go” solution. I make a batch on Sunday afternoon while the house is (hopefully) quiet. They mimic those expensive coffee shop sous-vide bites but use egg whites and turkey sausage to keep the calories low and the protein sky-high. The smoked paprika adds a deep, savory flavor that makes them feel much heartier than they are. Plus, you can eat them with one hand while holding a bottle.
Ingredients
* 1 cup liquid egg whites — easier than cracking a dozen eggs
* 2 links fully cooked turkey sausage — finely diced
* 1/4 cup part-skim mozzarella — shredded
* 1/2 cup chopped spinach — squeezed dry if using frozen
* 1/2 tsp smoked paprika — the secret to that “cooked over a fire” flavor
* 1/4 tsp garlic powder — for depth
Instructions
1. Preheat your oven to 350°F and grease a muffin tin very well with non-stick spray.
2. Distribute the diced turkey sausage and chopped spinach evenly among 6 muffin cups.
3. Whisk the egg whites, smoked paprika, and garlic powder in a small bowl until combined.
4. Pour the egg mixture over the fillings until each cup is about 3/4 full.
5. Top each bite with a pinch of mozzarella cheese.
6. Bake for 18–22 minutes until the centers are set and the tops are slightly golden.
Tips
* Batch cook — Wrap leftovers in a paper towel and store in an airtight container for up to 4 days.
* Silicone molds — Use a silicone muffin pan if you have one; the egg bites pop out much easier.
I remember making these when my son was just a few weeks old. I’d pop two in the microwave for 30 seconds and eat them while pacing the kitchen. They saved me from reaching for a box of sugary cereal more times than I can count.
The texture is light and fluffy, almost like a savory marshmallow. The smoked paprika gives it a “real meal” vibe that usually requires way more effort than just pouring egg whites into a tin.
📋 Recipe Card
Smoked Paprika Egg White Bites
🥗 Ingredients
- 1 cup liquid egg whites
- 2 links turkey sausage, cooked and diced
- 1/4 cup part-skim mozzarella cheese
- 1/2 cup fresh spinach, chopped
- 1/2 tsp smoked paprika
- 1/4 tsp garlic powder
📋 Instructions
- 1Preheat oven to 350°F and grease 6 slots of a muffin tin.
- 2Divide the diced sausage and spinach into the muffin slots.
- 3In a jug, mix egg whites, paprika, and garlic powder.
- 4Pour the egg mixture over the fillings.
- 5Top with mozzarella cheese.
- 6Bake for 20 minutes or until eggs are set. Each serving is 2 bites.
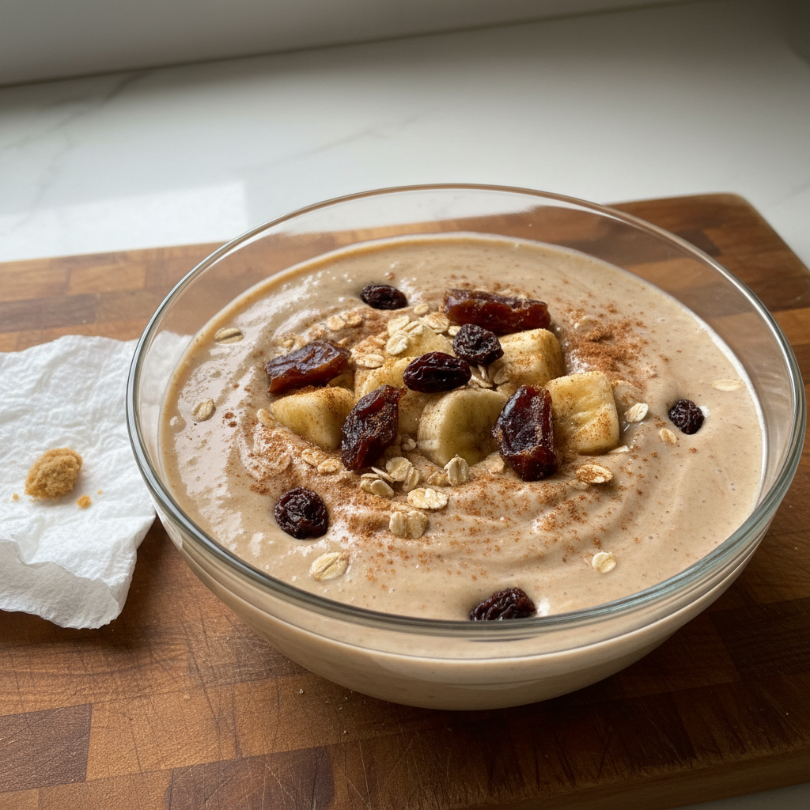
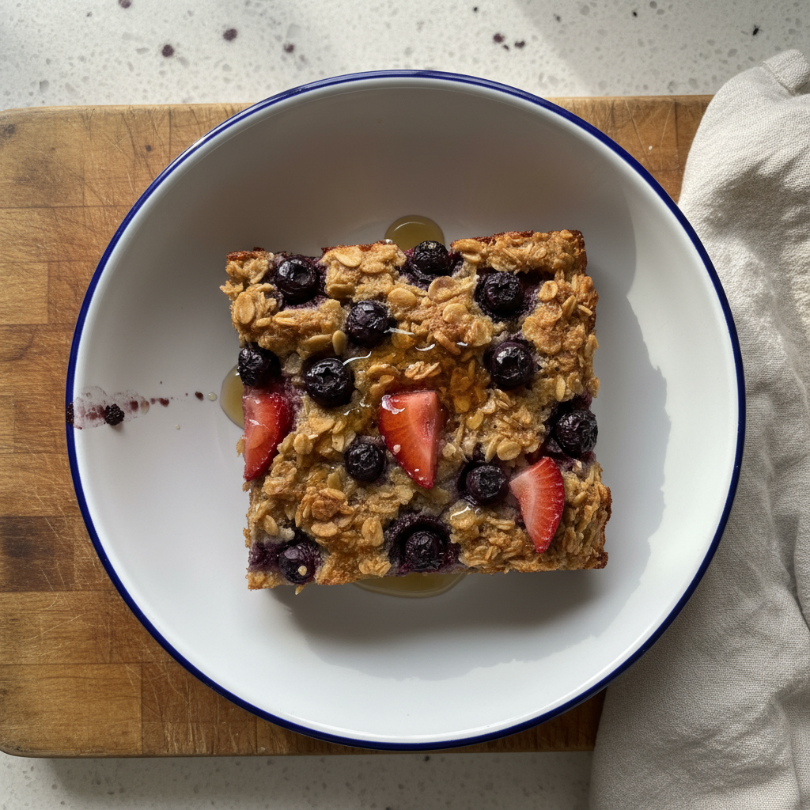
PB & J Pro-Oats
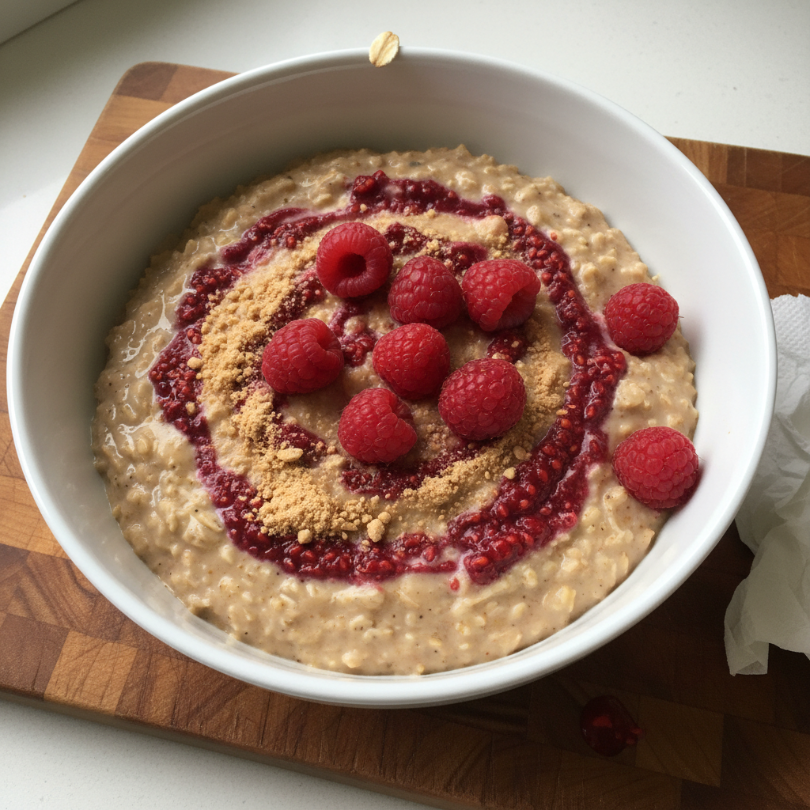
Sometimes you just need comfort food. These protein oats (or “pro-oats” as the internet calls them) taste like a warm hug. By stirring in egg whites or protein powder at the very end, you turn a high-carb bowl into a balanced powerhouse. I use PB2 (powdered peanut butter) to get that nutty flavor for a fraction of the calories. It’s sweet, salty, and keeps the nursing hunger at bay for hours.
Ingredients
* 1/3 cup old-fashioned rolled oats — not the instant kind
* 2/3 cup water or unsweetened almond milk — for creaminess
* 1/2 scoop vanilla protein powder — or 1/4 cup liquid egg whites
* 1 tbsp powdered peanut butter — like PB2 or PBfit
* 1/4 cup fresh raspberries — mashed slightly with a fork
* 1/2 tsp cinnamon — to help regulate blood sugar
Instructions
1. Simmer the oats and almond milk in a small saucepan over medium heat until most of the liquid is absorbed.
2. Whisk in the cinnamon and powdered peanut butter until the mixture is smooth.
3. Add protein — If using egg whites, whisk constantly for 2 minutes as you pour them in (it makes the oats fluffy!). If using protein powder, remove from heat first, then stir in with a splash of extra liquid.
4. Transfer to a bowl and swirl in the mashed raspberries.
5. Finish with a tiny sprinkle of sea salt.
Tips
* Make it overnight — You can prep the oats and liquid in a jar the night before to save time.
* Sweetness check — If your protein powder isn’t sweet enough, add two drops of liquid stevia or monk fruit.
This was the first “real” breakfast I made myself after coming home from the hospital. There’s something so nostalgic about the peanut butter and jelly combo. It made me feel like a human again, sitting at the table for five minutes of peace.
The volume on this bowl is huge. Because the oats and egg whites expand, you get a massive portion that really feels like a “cheat meal” even though it’s totally fueling your recovery.
📋 Recipe Card
PB & J Pro-Oats
🥗 Ingredients
- 1/3 cup old-fashioned rolled oats
- 2/3 cup unsweetened almond milk
- 1/2 scoop vanilla whey protein powder
- 1 tbsp powdered peanut butter
- 1/4 cup raspberries, mashed
- 1/2 tsp cinnamon
📋 Instructions
- 1Combine oats and almond milk in a small pot over medium heat.
- 2Cook for 5 minutes, stirring occasionally, until thickened.
- 3Stir in the cinnamon and powdered peanut butter.
- 4Remove from heat and let cool for 1 minute before stirring in the protein powder.
- 5Transfer to a bowl and swirl in the mashed raspberries. Serve warm.
General Tips & Tricks
When you’re a new mom, efficiency is everything. Always prep your proteins ahead of time—hard-boil a batch of eggs or pre-portion your protein powder. Keep frozen spinach and egg whites on hand because they never spoil quickly. And don’t forget to hydrate! High protein intake requires extra water, especially if you’re breastfeeding. Pick one recipe and try it tomorrow morning. You’ve got this, mama.
Conclusion
Eating well shouldn’t be another chore on your to-do list. These breakfasts prove you can get the nutrients you need without sacrificing flavor or sleep. Give yourself grace, eat the protein, and enjoy that lukewarm coffee. You’re doing great.